Documentation Index
Fetch the complete documentation index at: https://guide.cloud.blnkfinance.com/llms.txt
Use this file to discover all available pages before exploring further.
Overview
The Identity details page gives you a complete view of an identity — including its name, email, balances, country, and all related activity.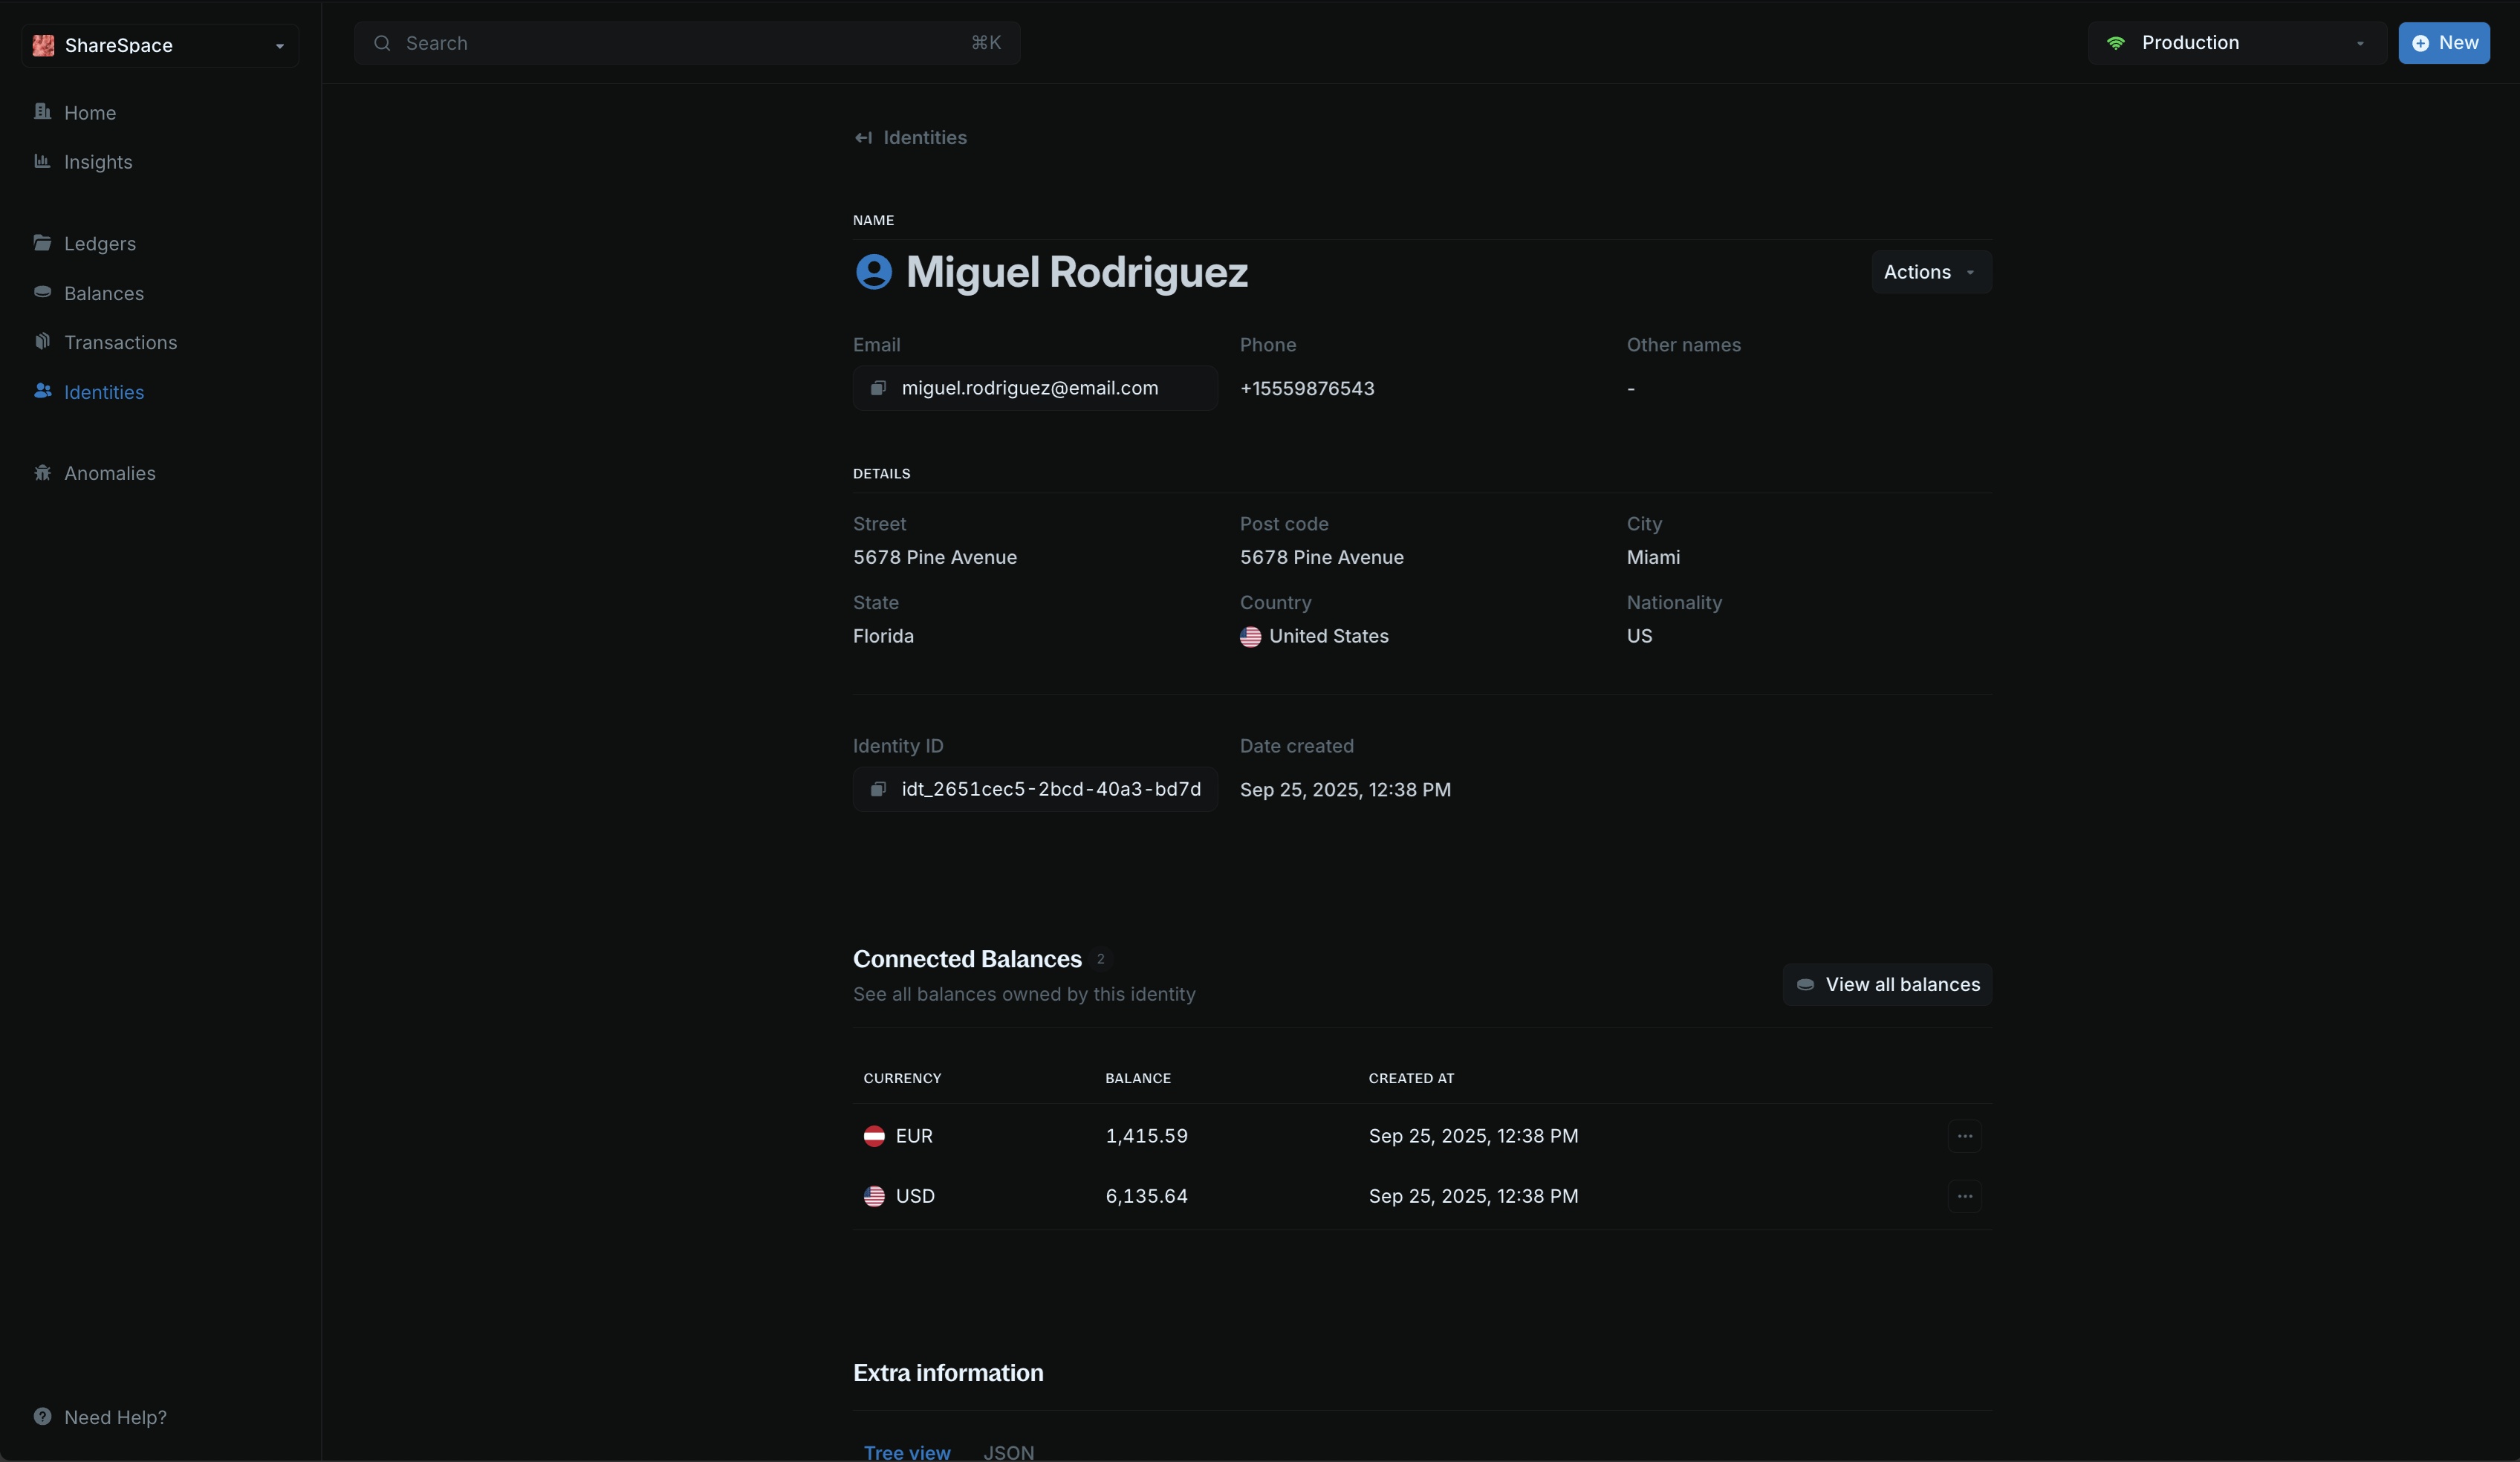
Summary section
At the top, you’ll see your identity information: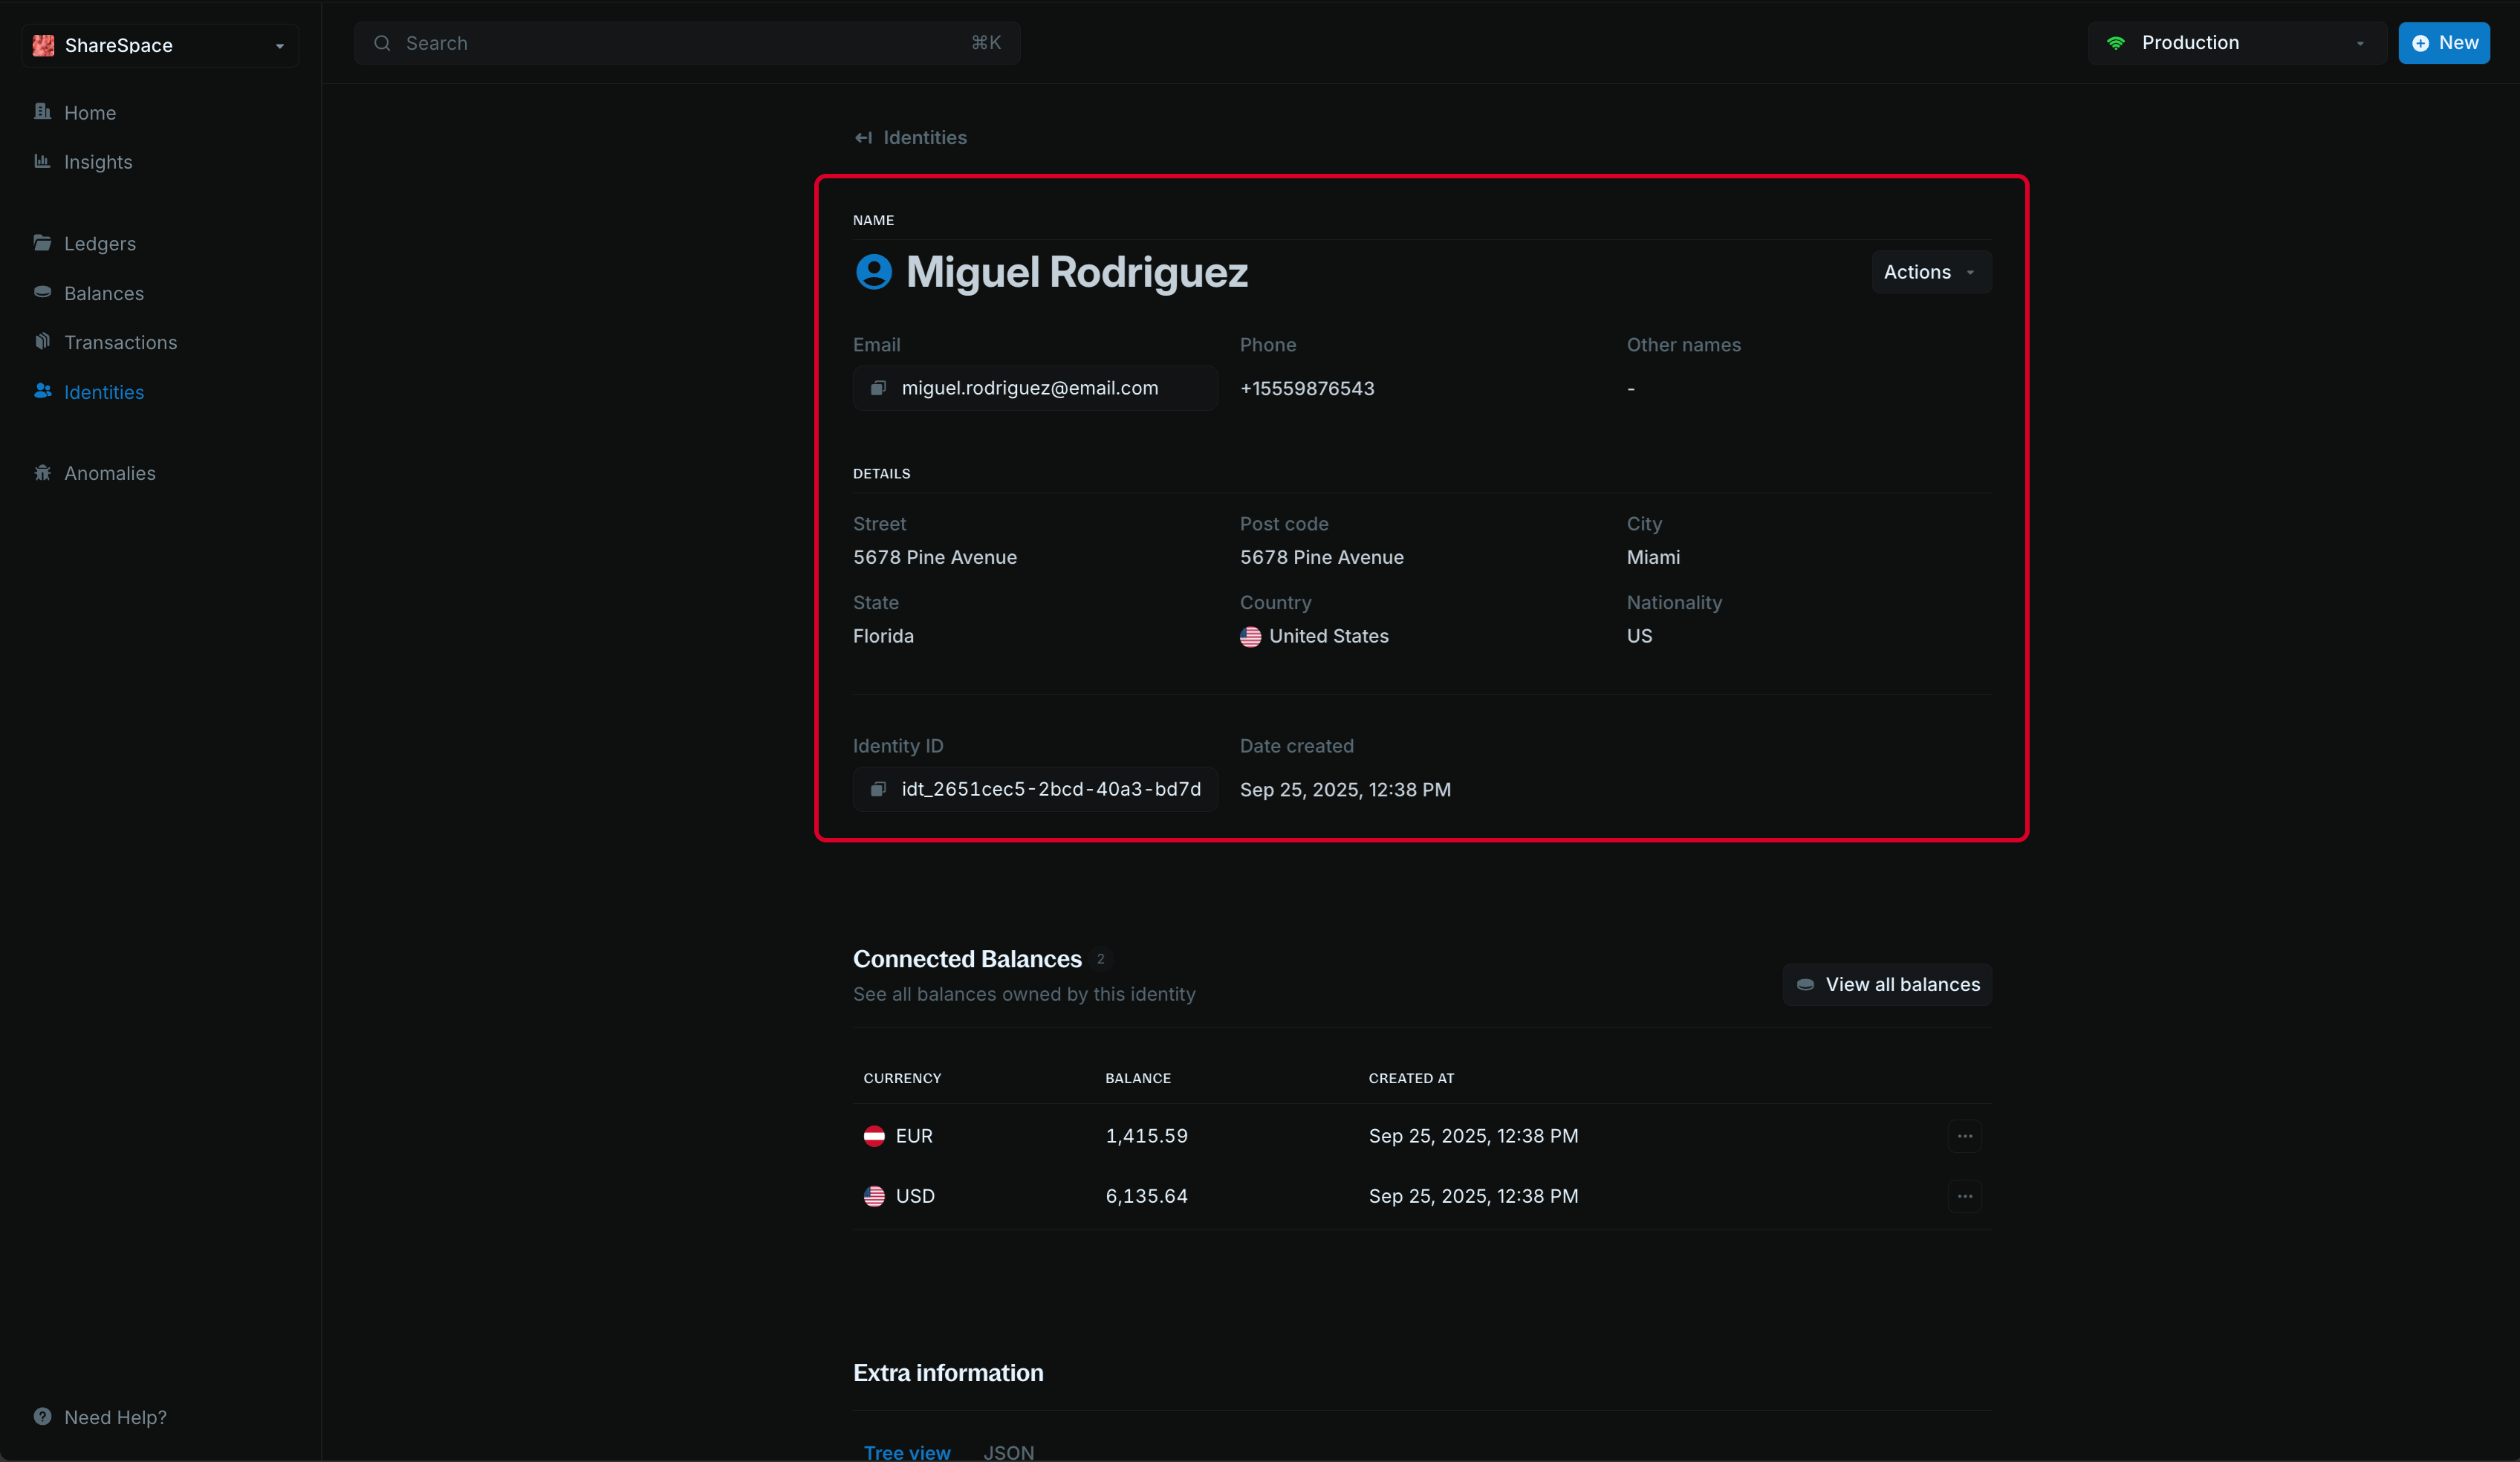
| Details | Description |
|---|---|
| Name | First and last name (for individual) or organization name (for organization) |
| Primary email address associated with the identity | |
| Phone number | Contact phone number |
| Other names | Additional names or aliases |
| Street address | Physical street address |
| City | City or locality |
| State | State, province, or region |
| Country | Country of residence or registration |
| Post code | Postal or ZIP code |
| Nationality | Nationality or citizenship |
| Identity ID | Unique identifier for the identity |
| Date created | Date and time when the identity was created |
Edit identity
You can edit any identity information directly from the identity details page. Click Edit identity in the top-right corner to update names, contact details, addresses, and other identity fields.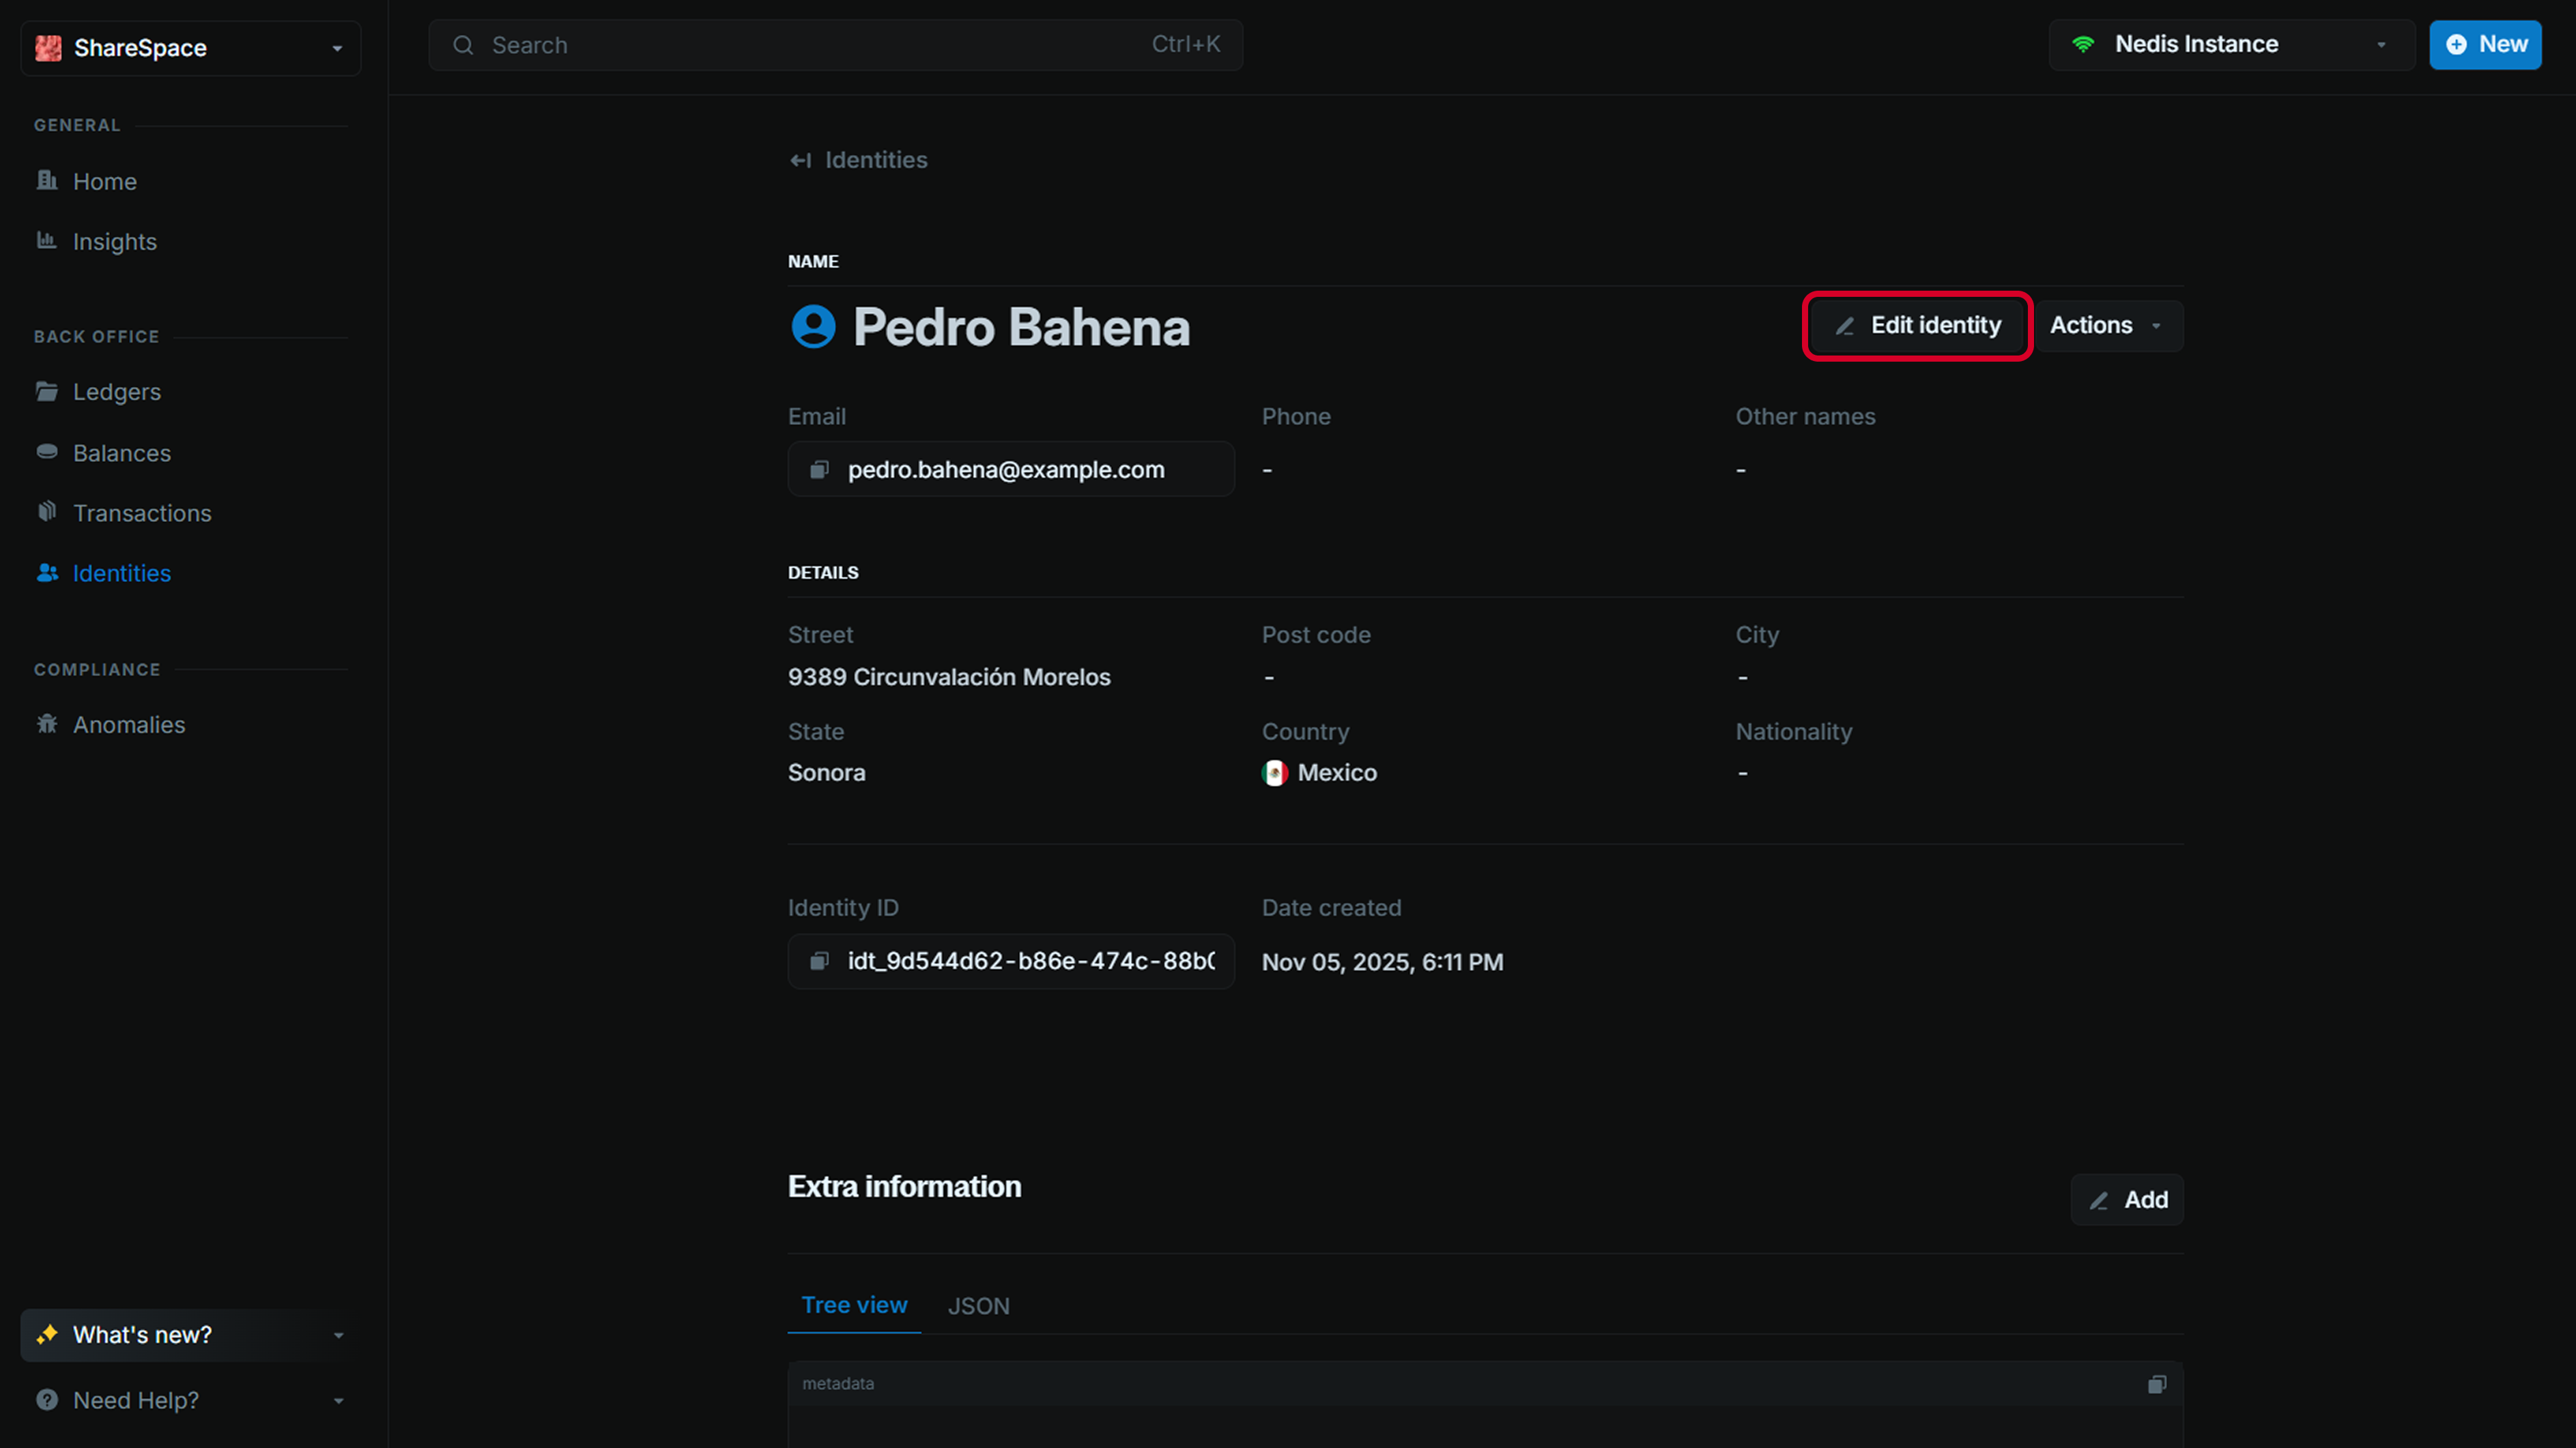
Connected balances
This is a list of all balances linked to an identity. We display the last 10 balances by default.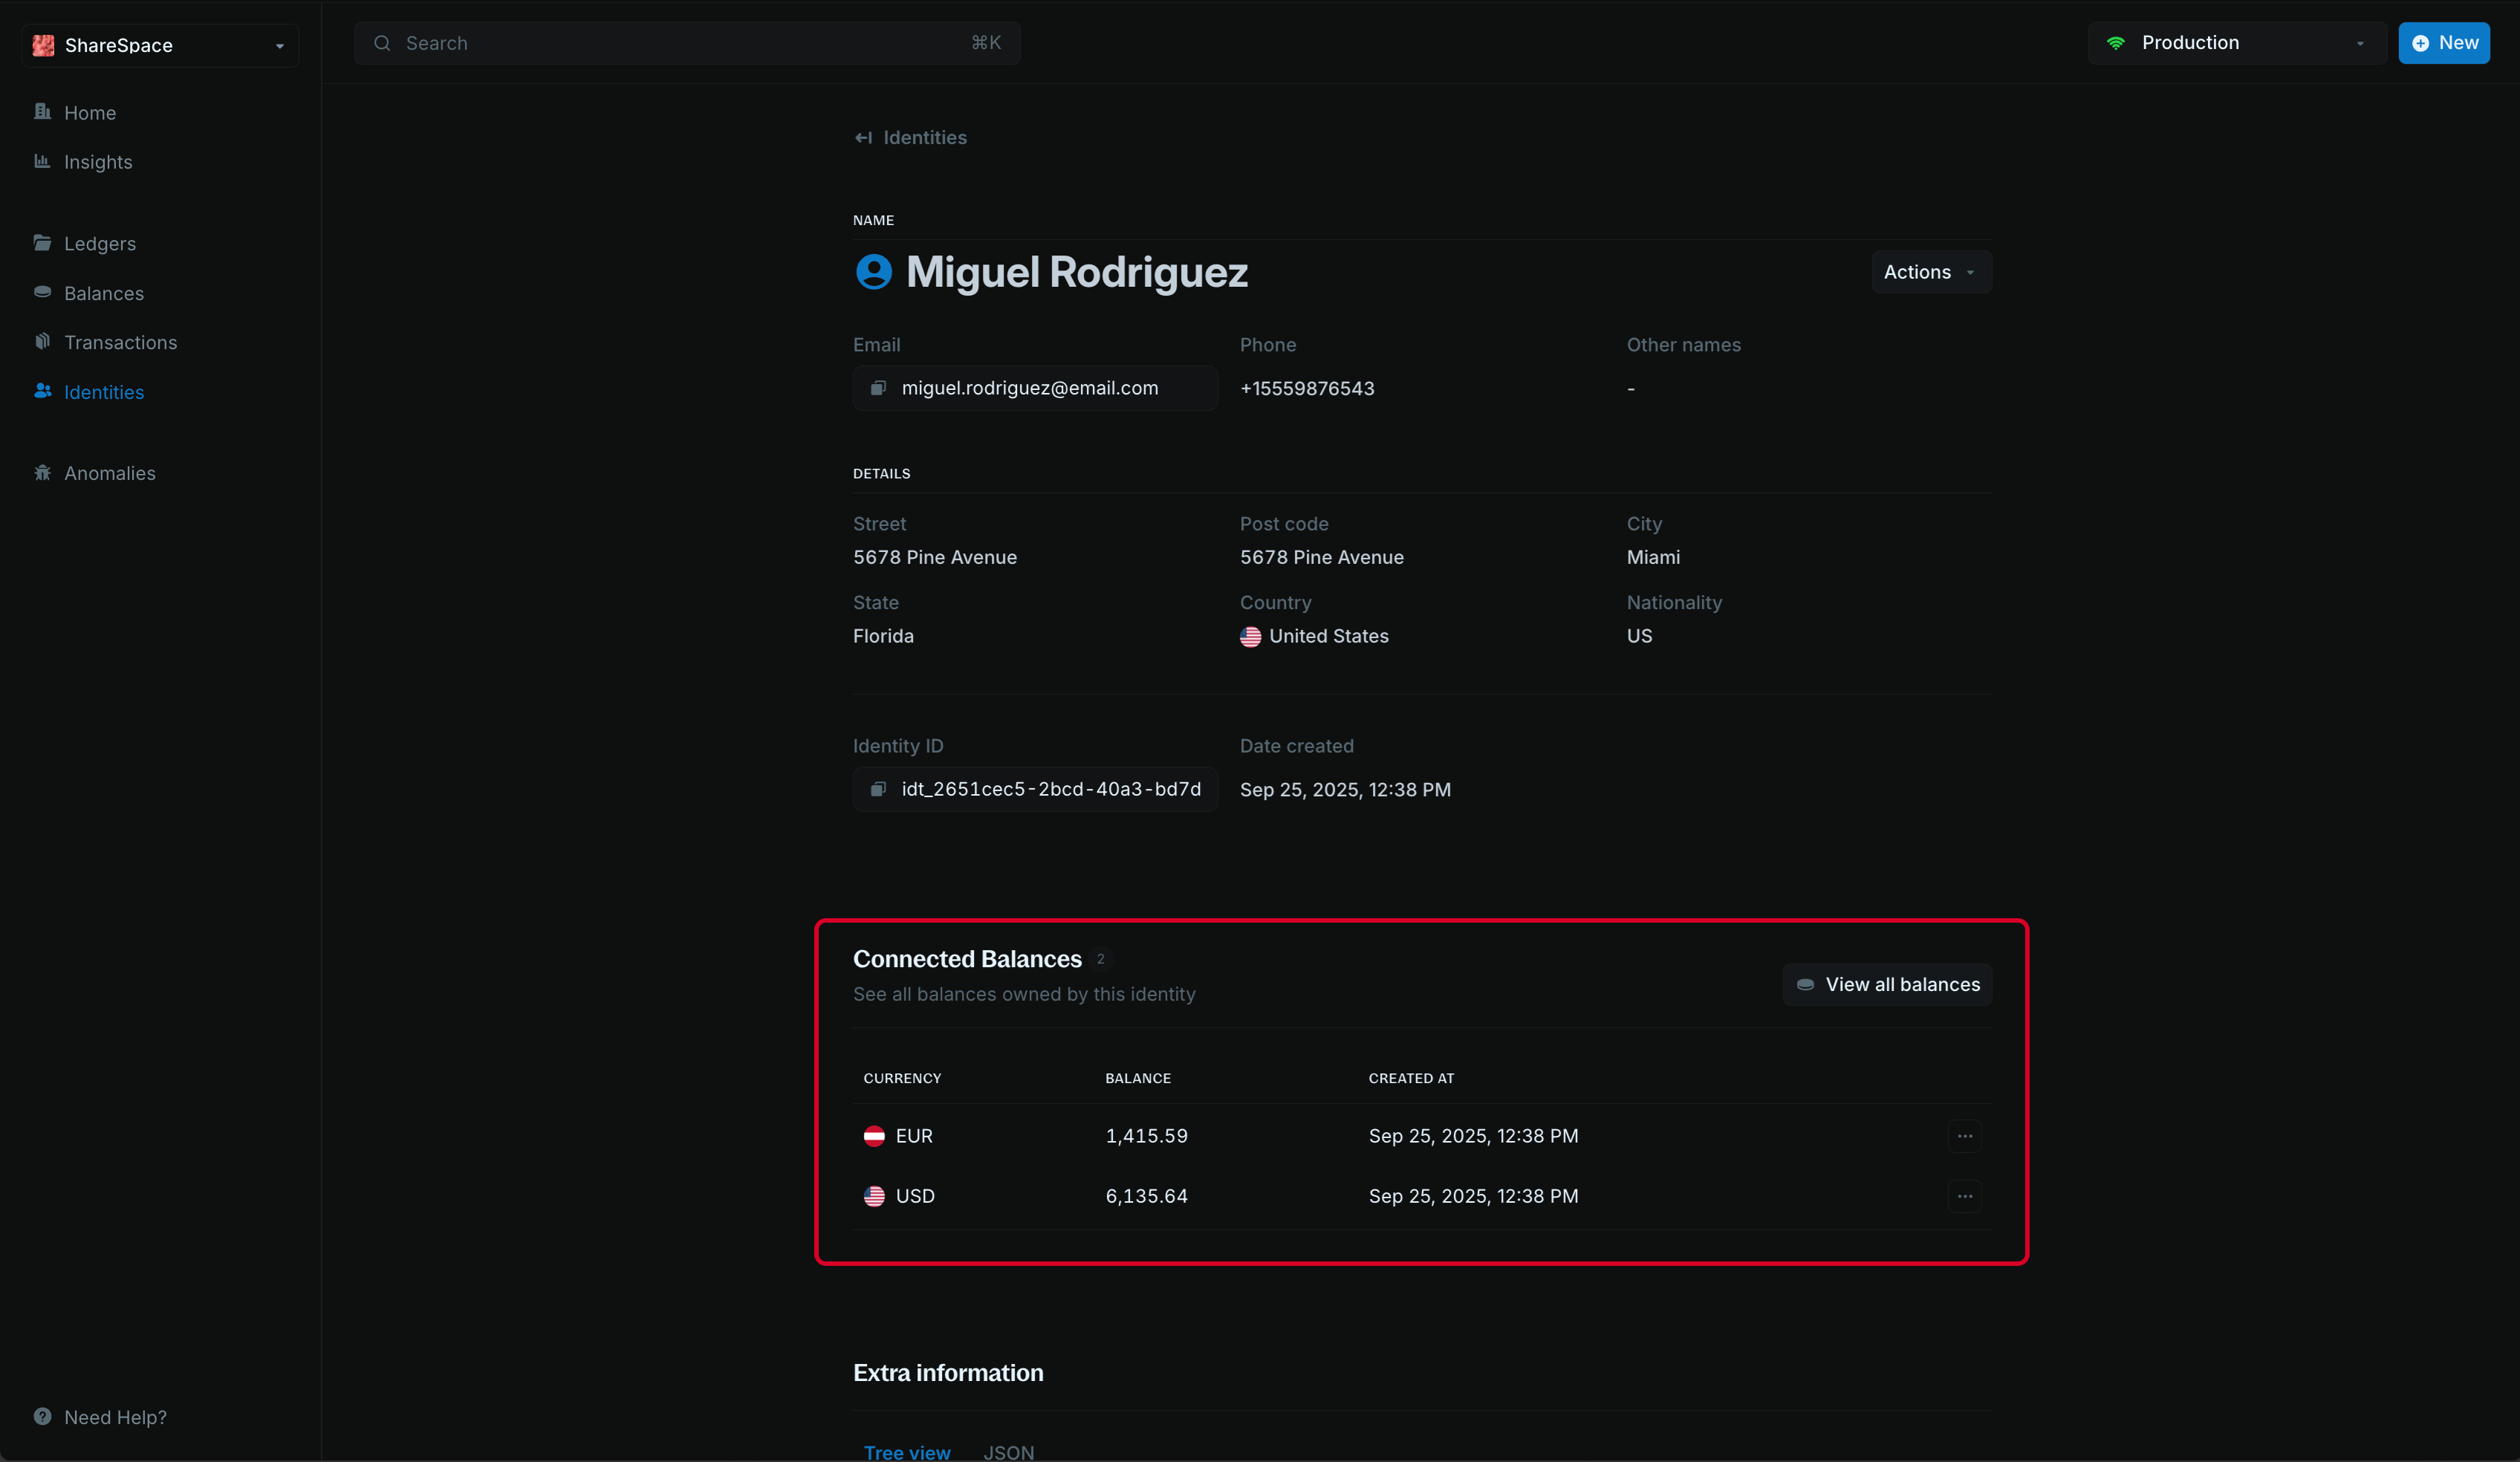
Create a linked balance
To automatically create a balance for an identity;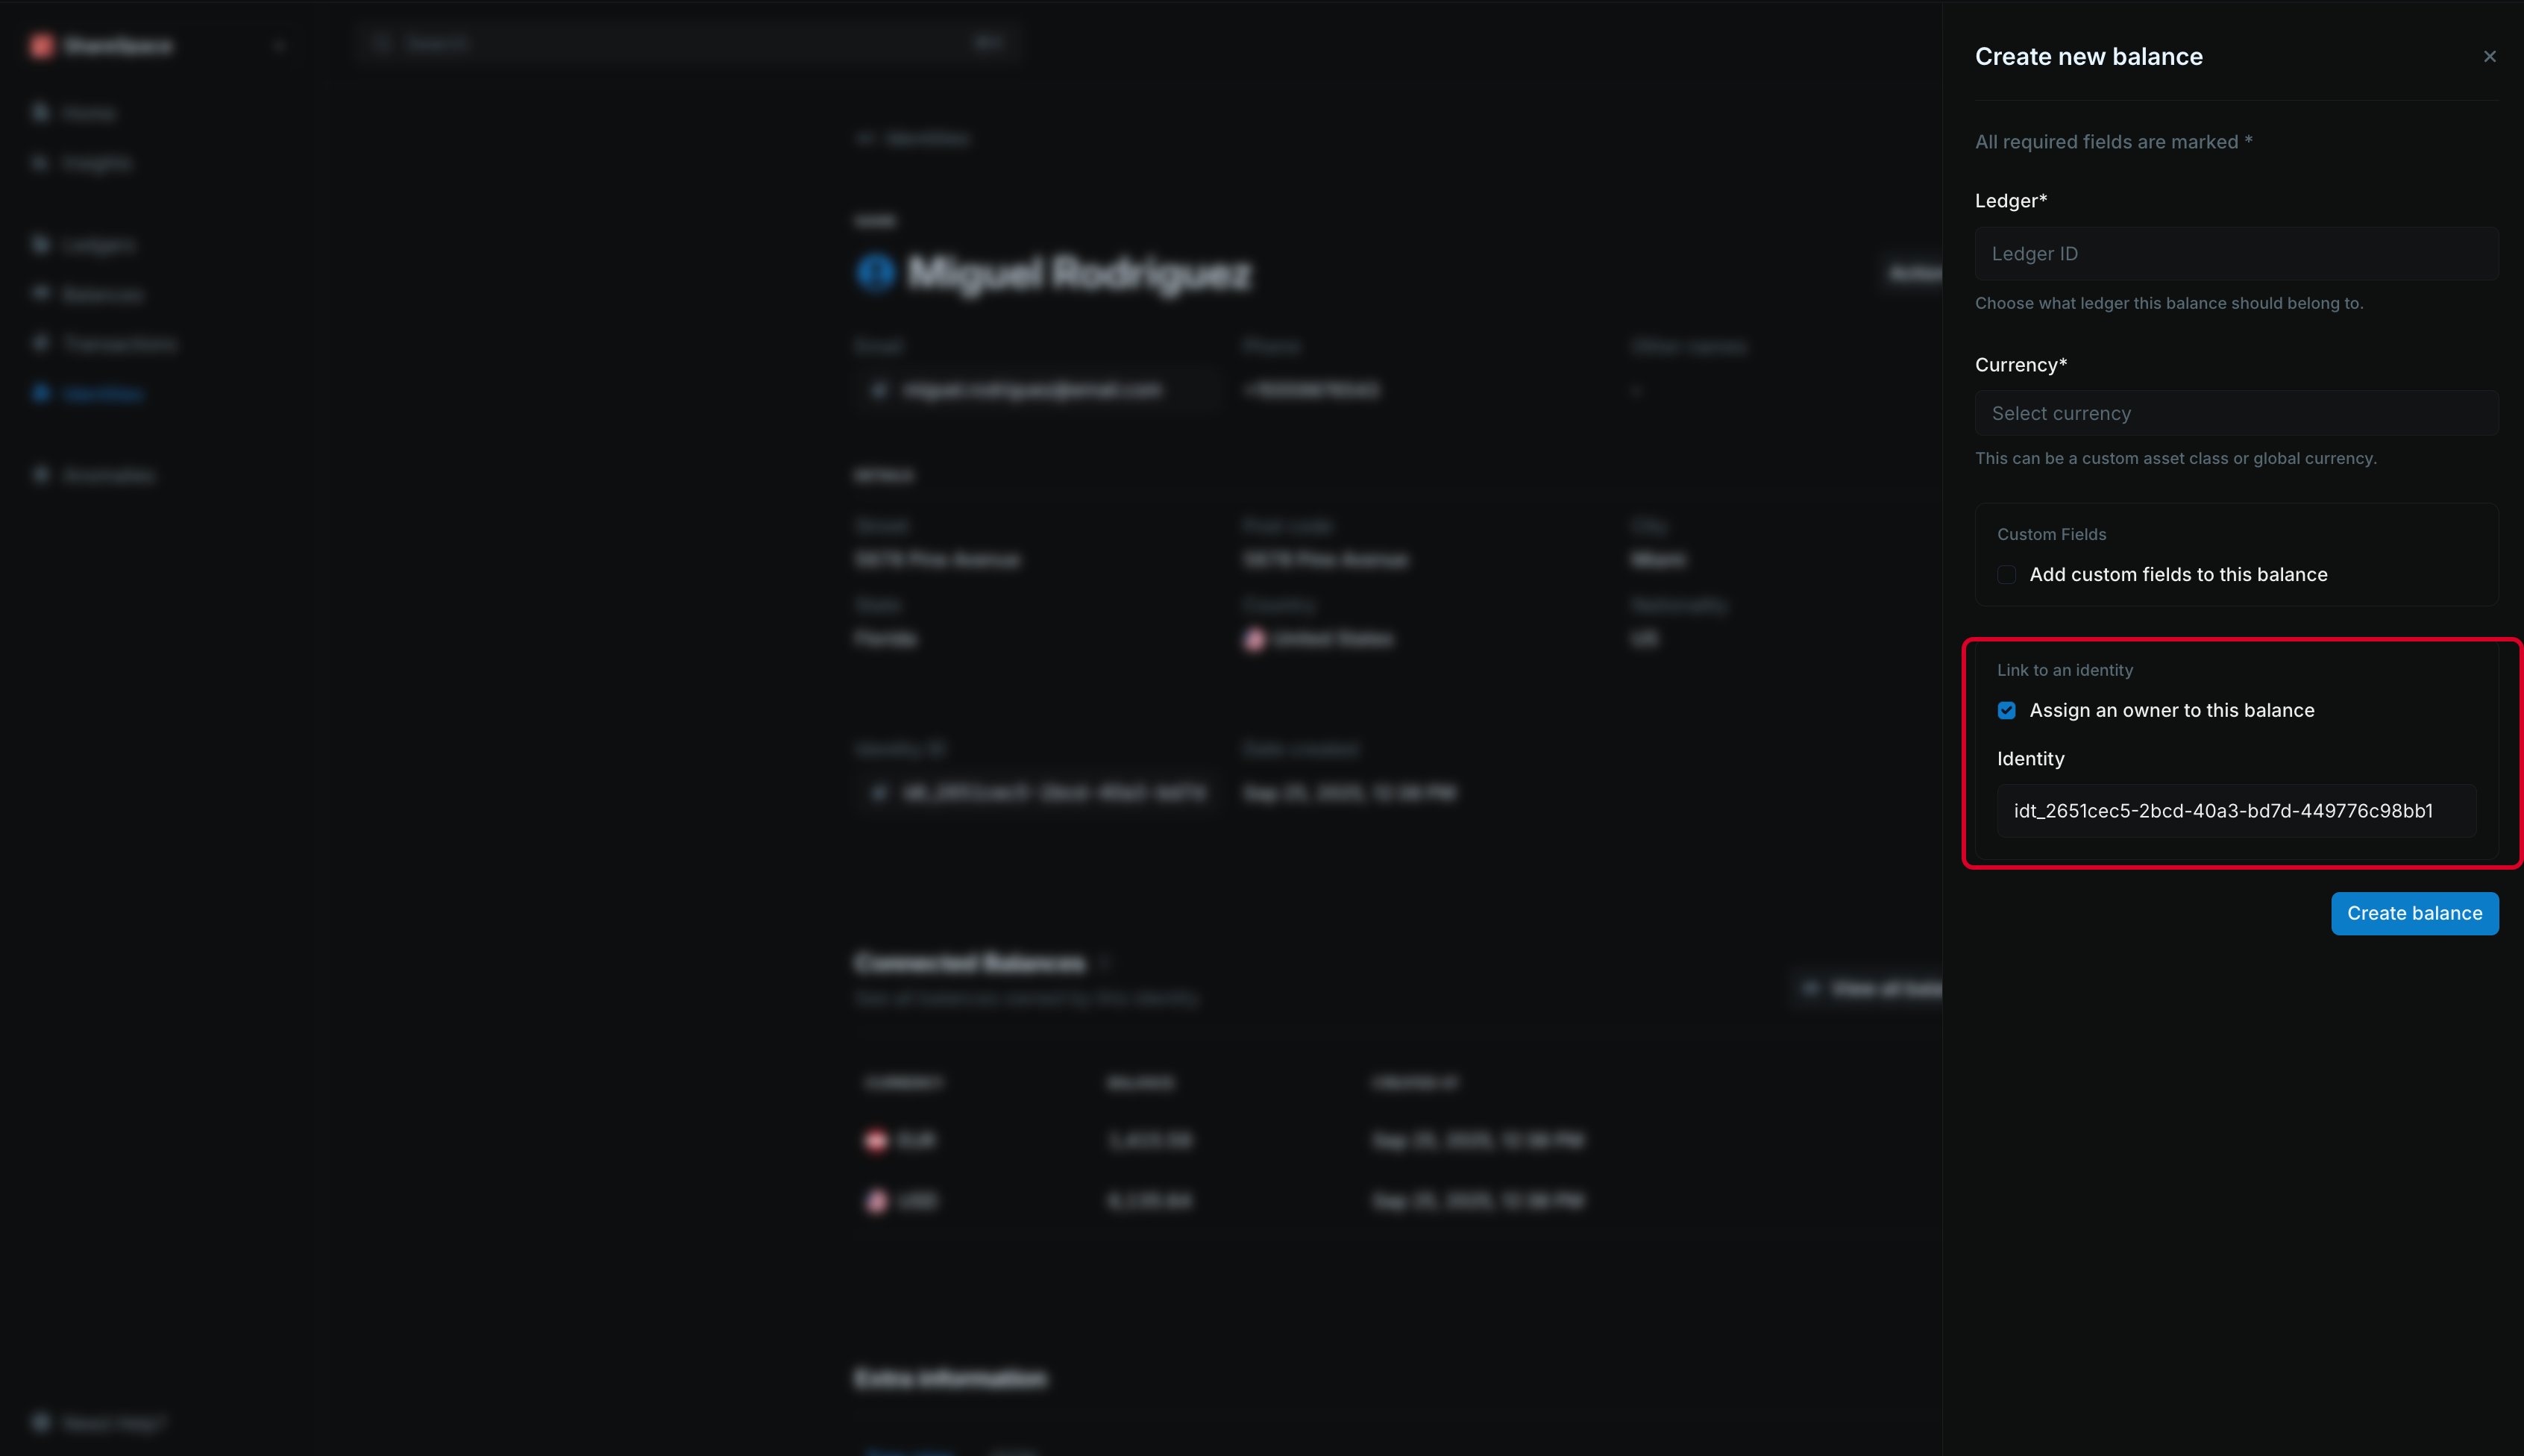
- While on an identity details page, click New > New balance at the top right of the app or press ⌥ + B (
Alt + Bfor Windows). - Enter the required details — currency, ledger, and any additional custom fields.
- The identity ID is prefilled for you.
- Click Create balance.
Metadata
The metadata section allows you to add custom information to your identity. You can store additional details, tags, or any other data that helps you organize and manage your identities.Edit metadata
To edit metadata: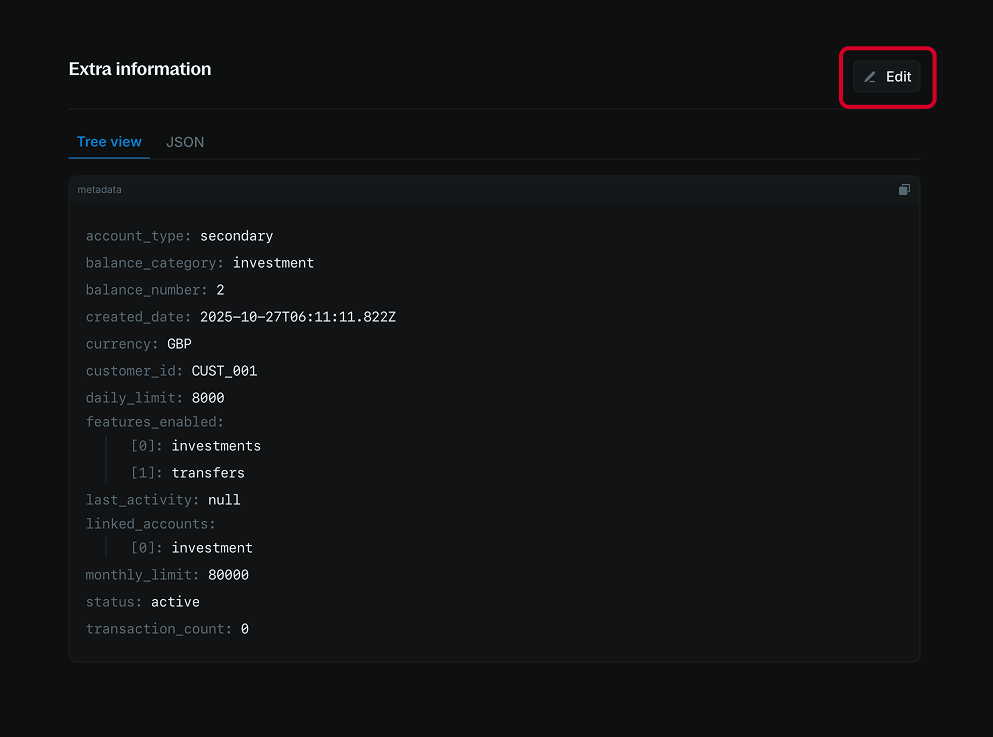
- Navigate to the Additional information section.
- Click the Add or Edit button at the top right of the section.
- Use the code editor to add new metadata or update existing metadata.
- Click Update to apply your changes.
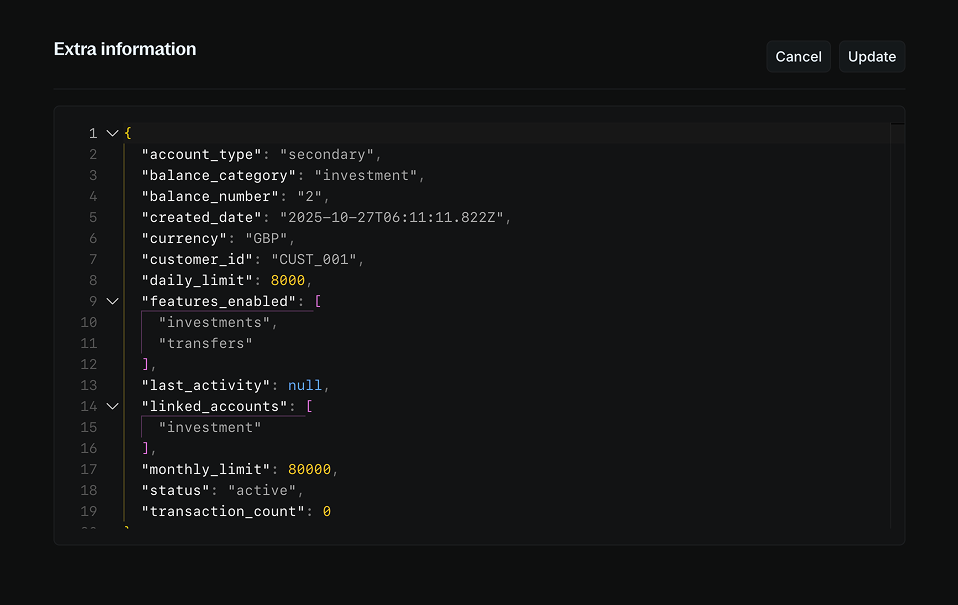
When updating metadata, any fields you don’t include in your update will remain unchanged. Blnk adds your new values to the existing metadata instead of deleting them. To remove a value, set it to an empty string.