The transaction details page provides a comprehensive view of individual transactions, displaying all relevant information from basic transaction data to inflight history and connected transactions.Documentation Index
Fetch the complete documentation index at: https://guide.cloud.blnkfinance.com/llms.txt
Use this file to discover all available pages before exploring further.
Accessing transaction details
Navigate to a transaction’s details page by: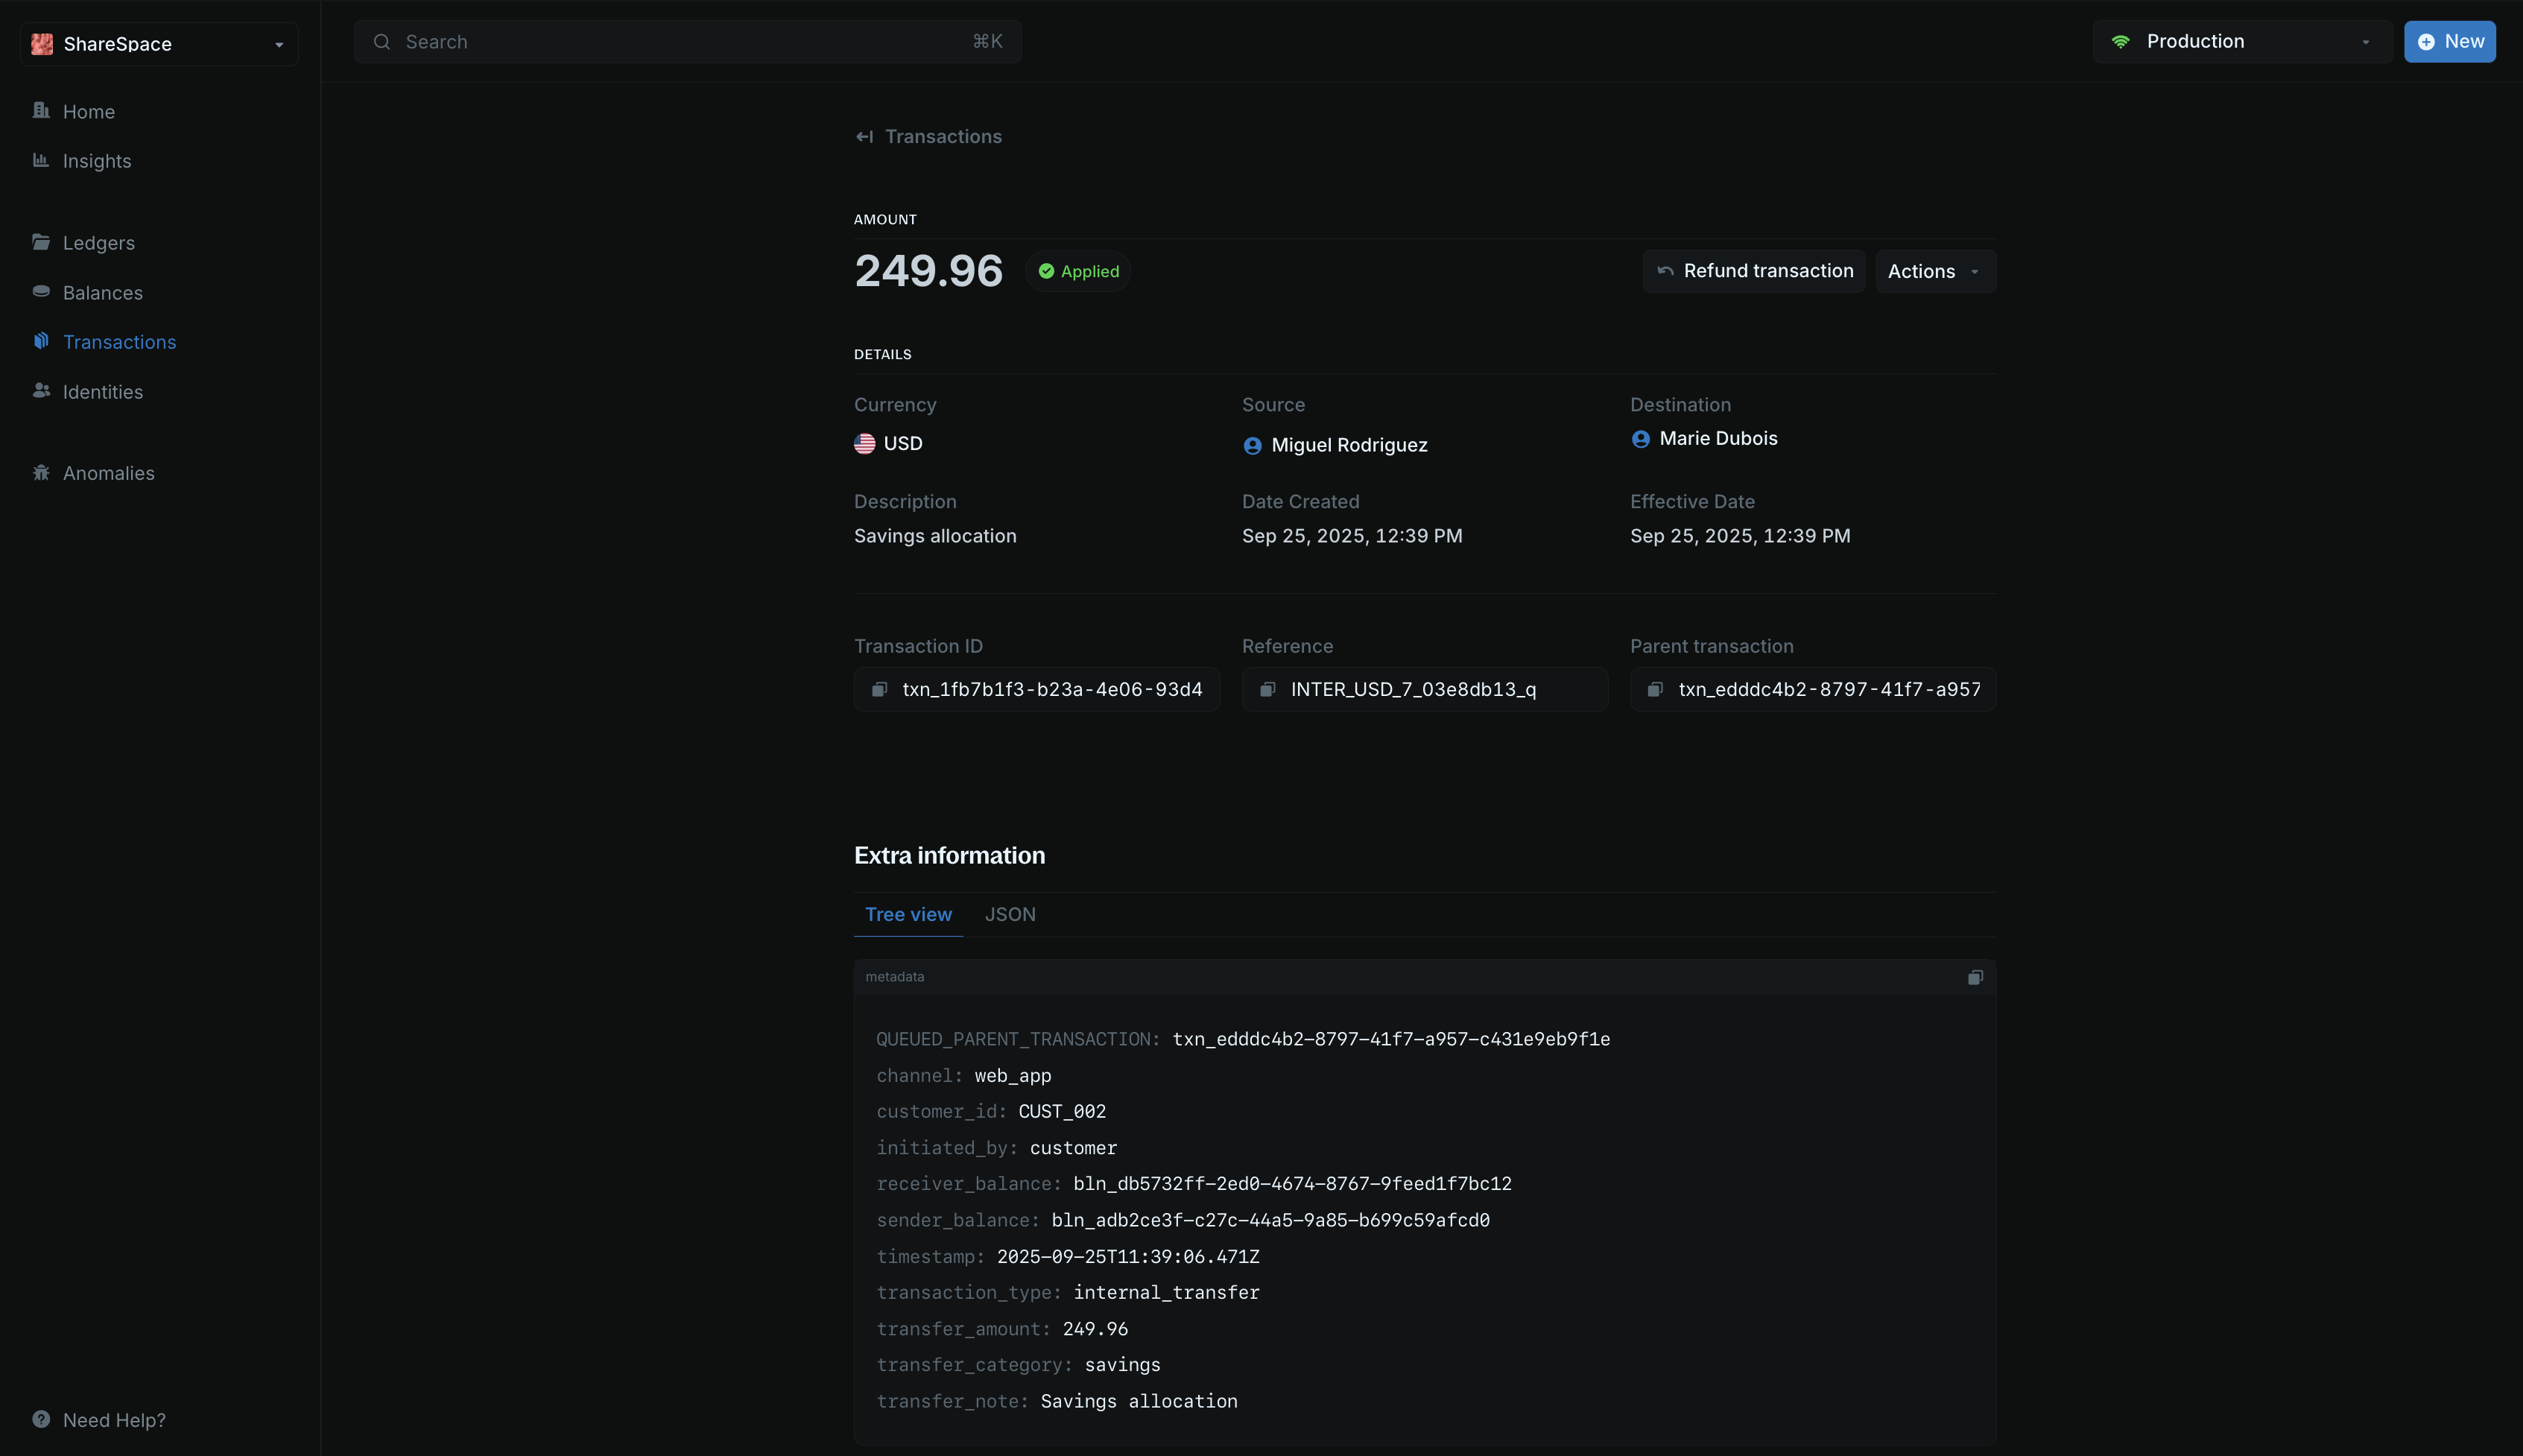
- Going to the Transactions section in your sidebar
- Clicking on any transaction from the transactions list
- The details page opens showing complete transaction information
Transaction information
The main section displays essential transaction information in an organized format: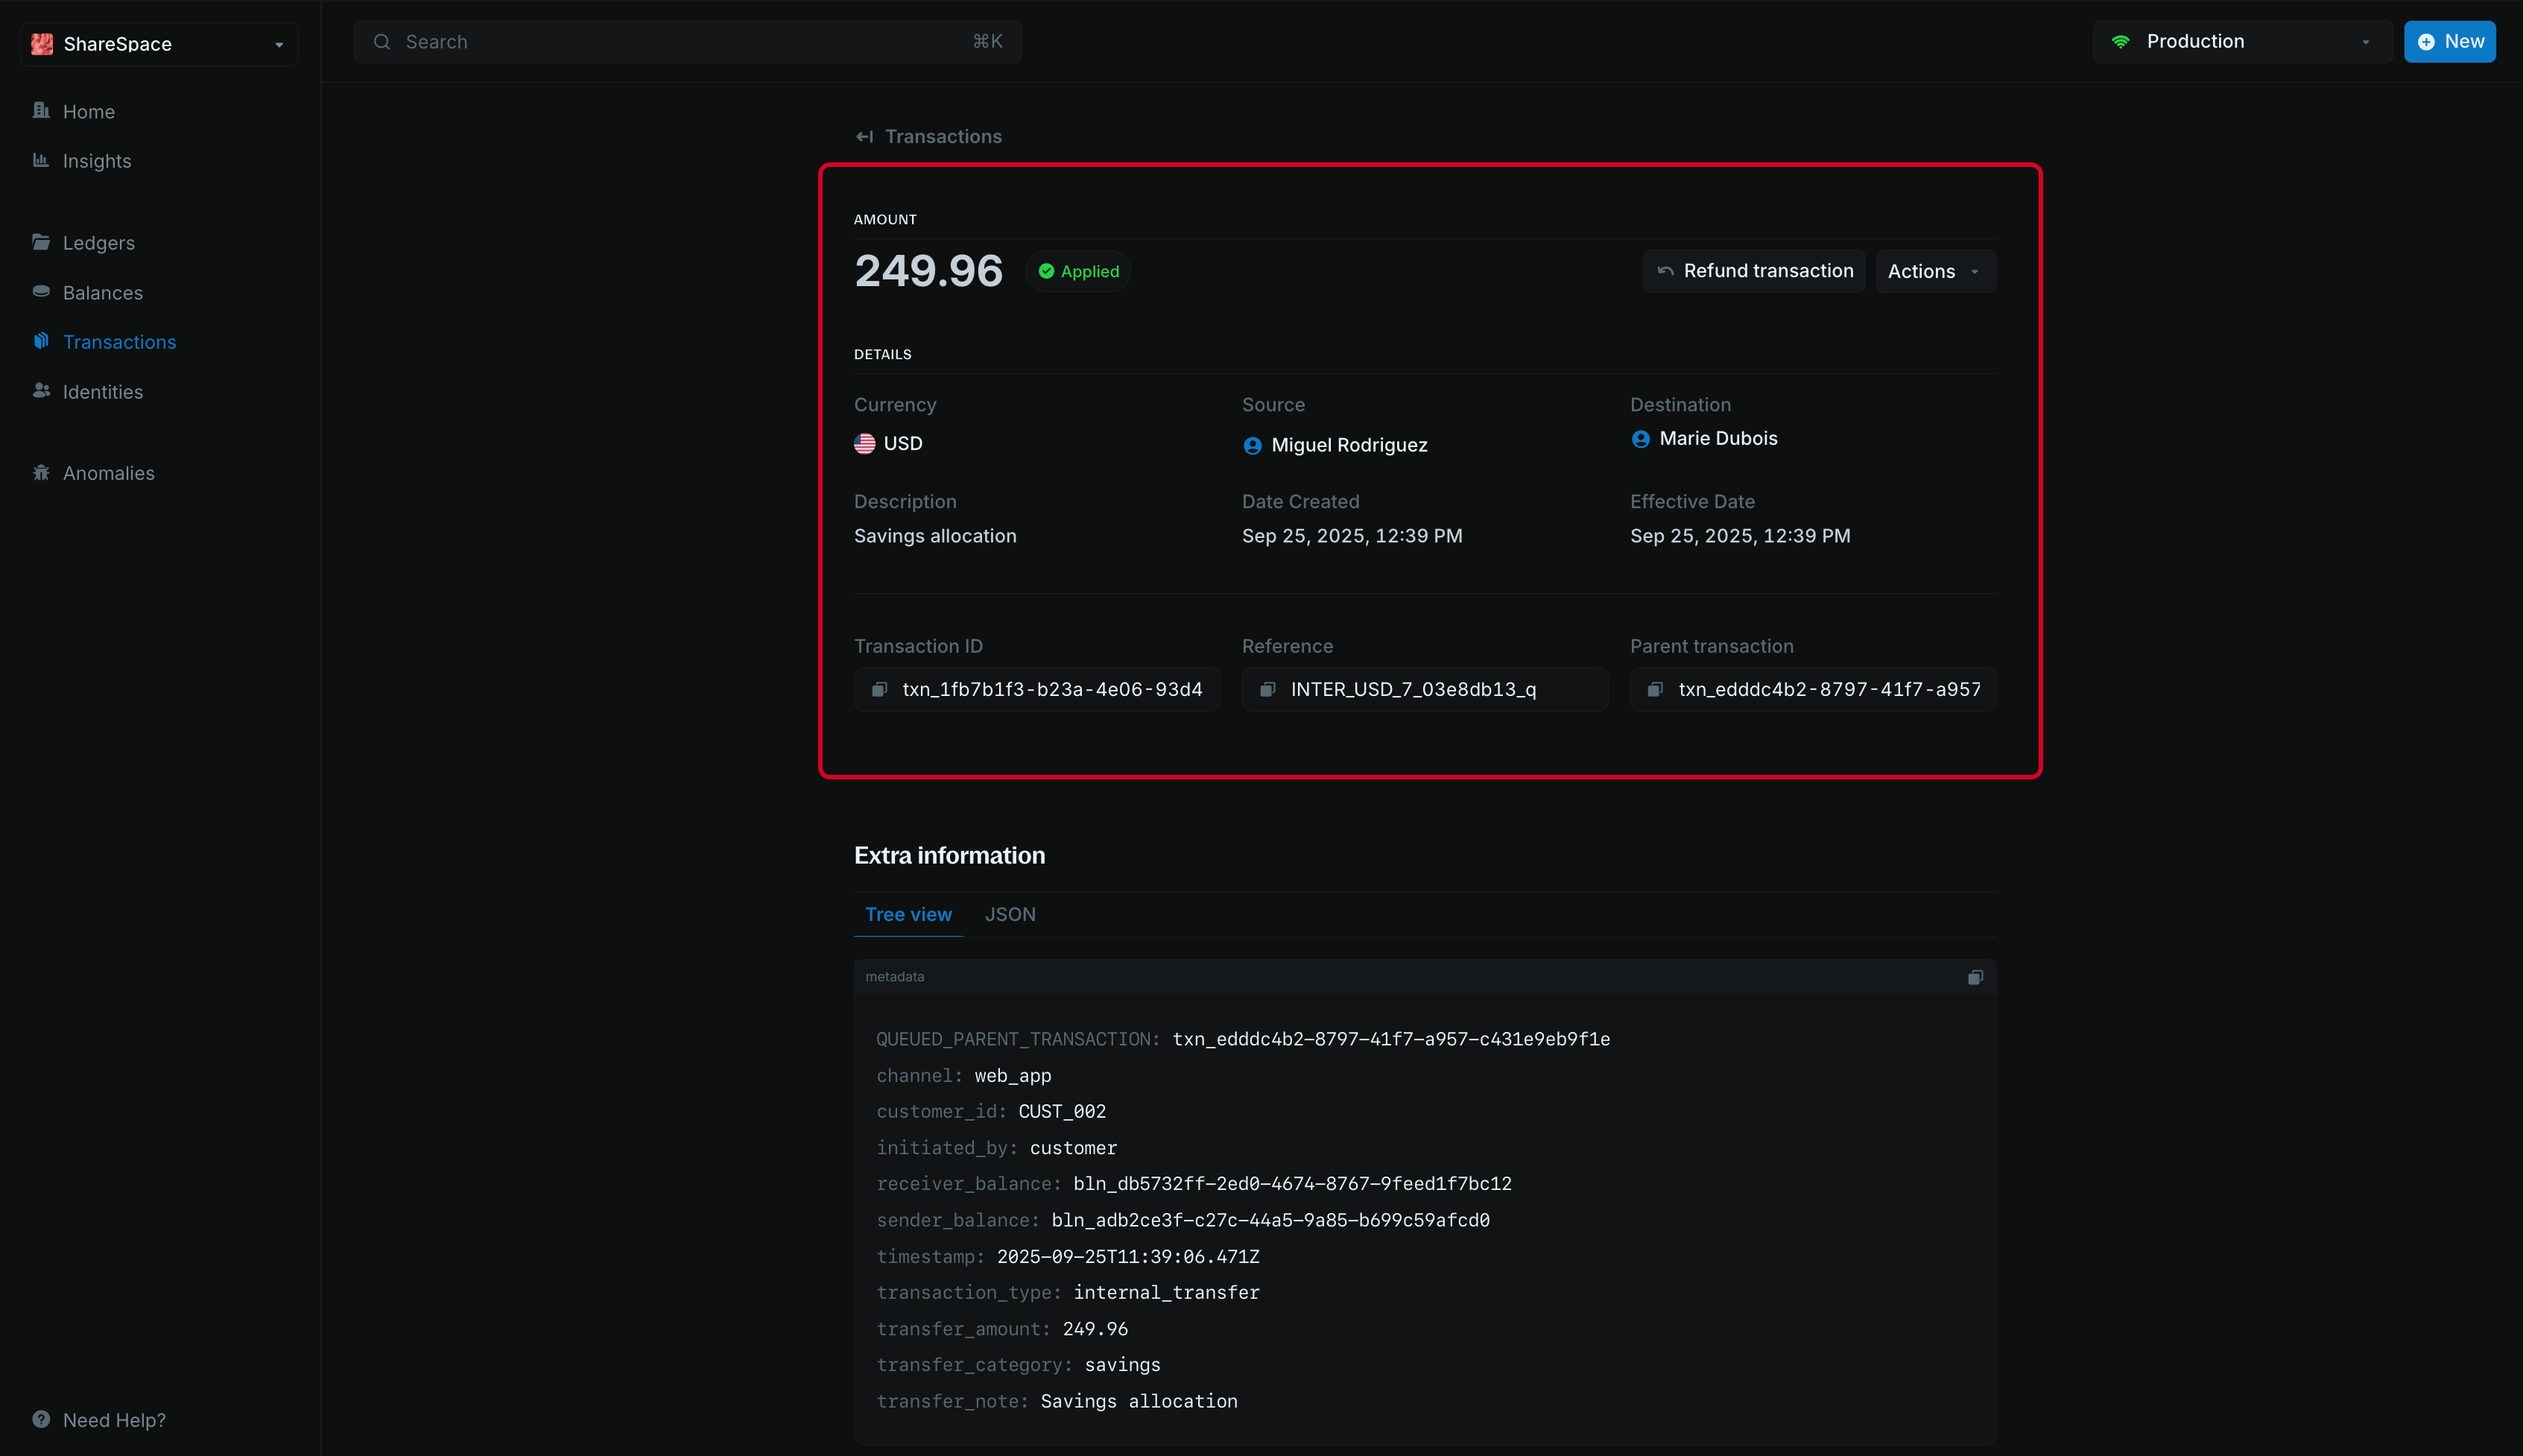
| Field | Description |
|---|---|
| Amount | Transaction amount prominently displayed at the top |
| Currency | Shows the transaction’s denomination (USD, EUR, etc.) |
| Status | Current transaction state (APPLIED, INFLIGHT, PENDING, etc.) |
| Source | Origin balance or account for the transaction |
| Destination | Target balance or account receiving the funds |
| Description | User-defined description explaining the transaction purpose |
| Date Created | Timestamp when the transaction was initiated |
| Effective Date | When the transaction actually happened. If not specified, it will be the same as the date created |
| Transaction ID | Unique identifier for the specific transaction |
| Reference | Unique reference number for your transaction |
| Parent Transaction | Shows the parent transaction ID for related transactions |
Transaction actions
The details page provides action buttons for transaction management:- Refund transaction: Initiate a refund for the current transaction
- Actions menu: Access additional transaction operations
Inflight history
This section is only visible for inflight transactions.
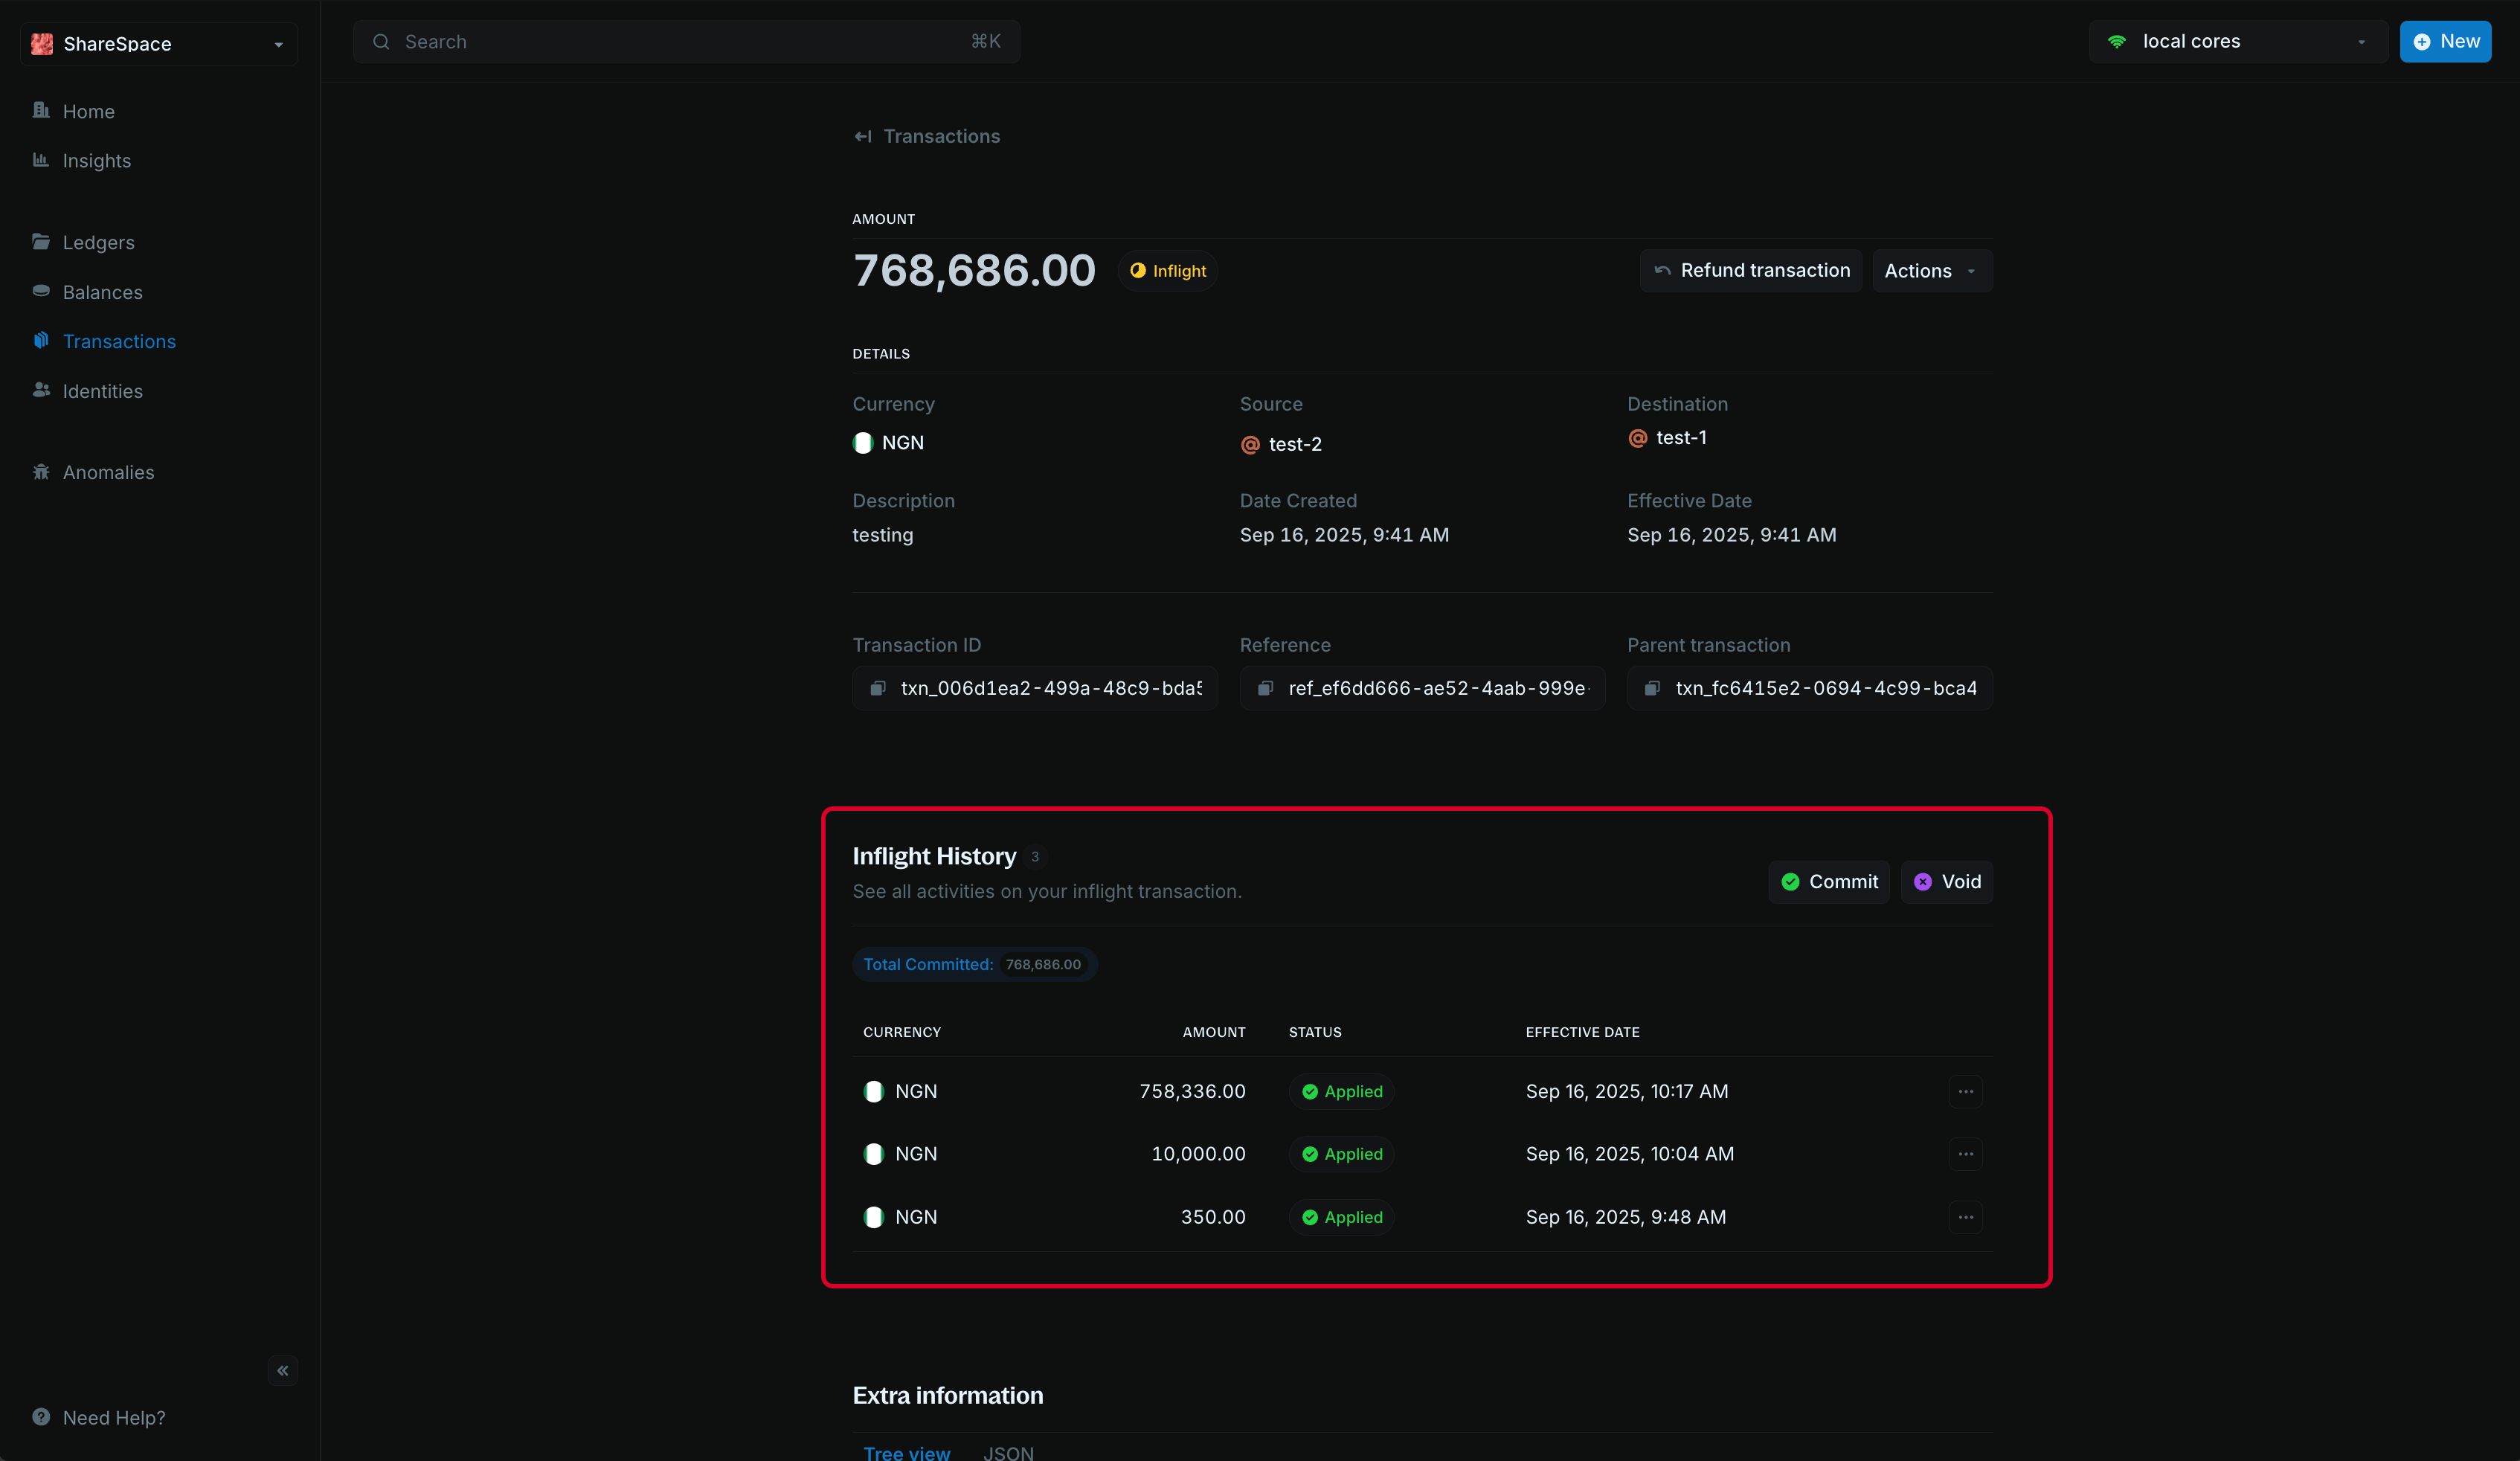
Inflight transactions
Learn more about managing inflight transactions.
Extra information
The extra information section provides technical details and metadata: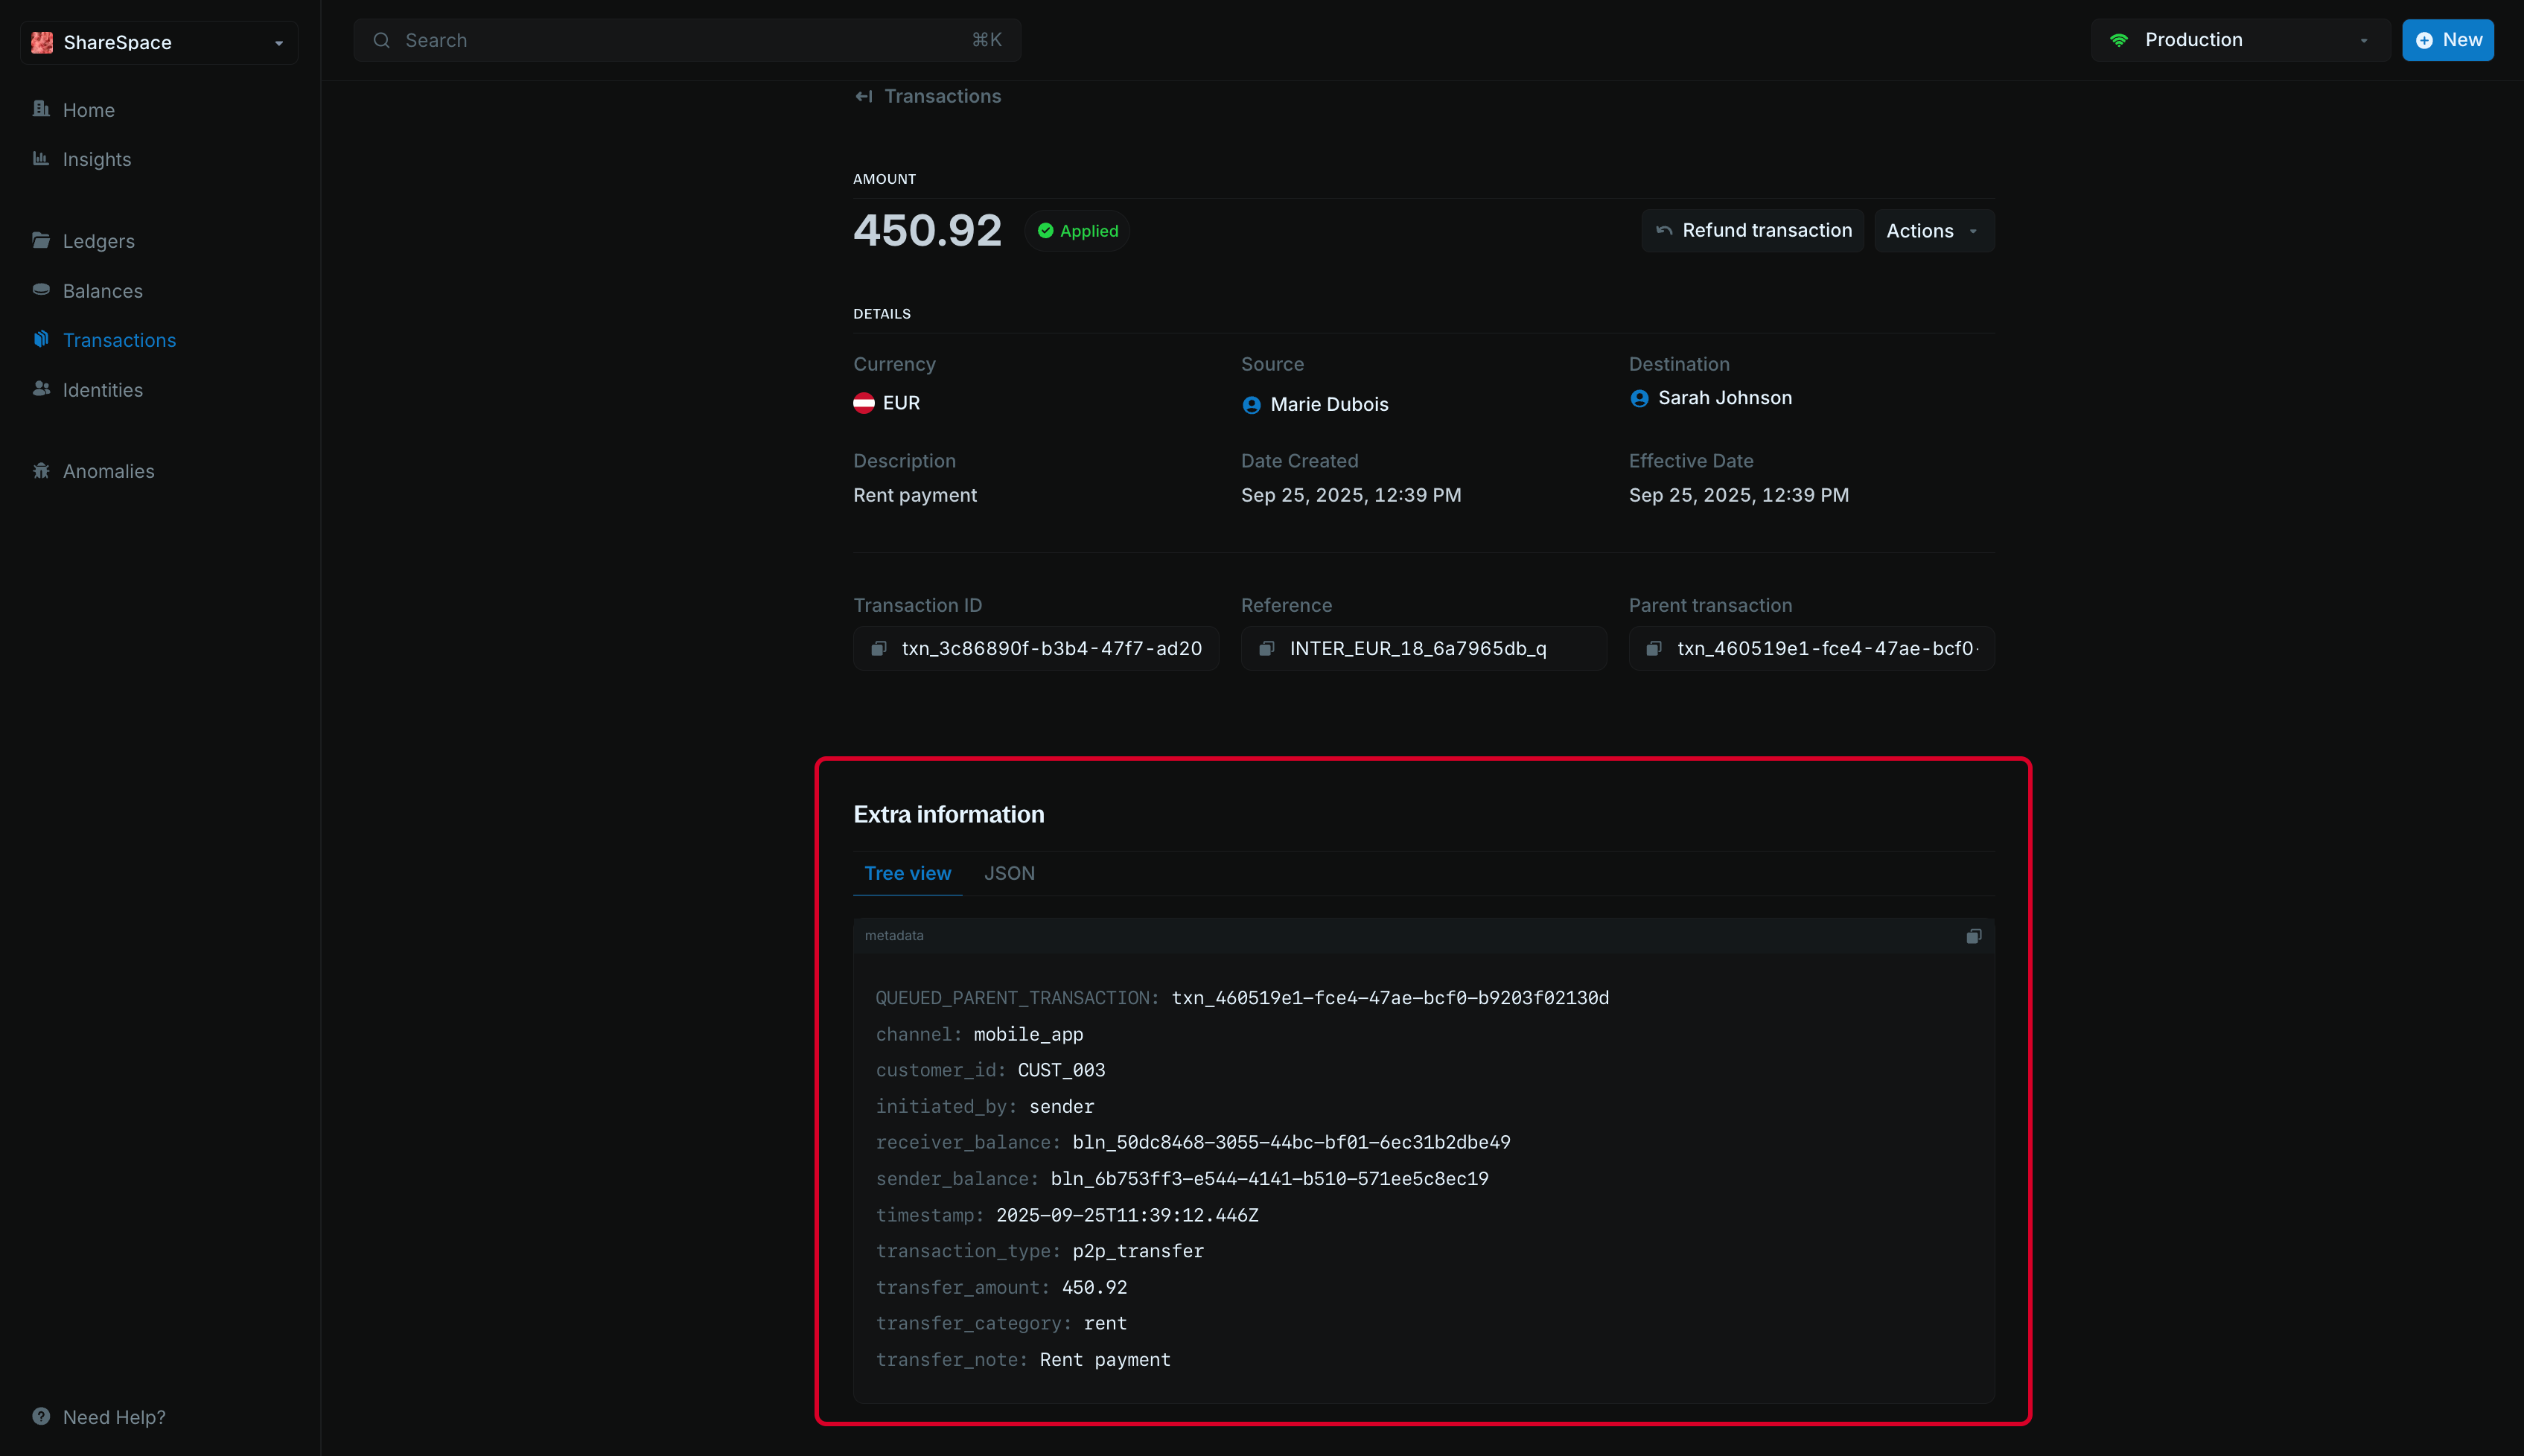
- Tree view: Hierarchical display of transaction data
- JSON: Raw JSON format showing all transaction properties
Metadata
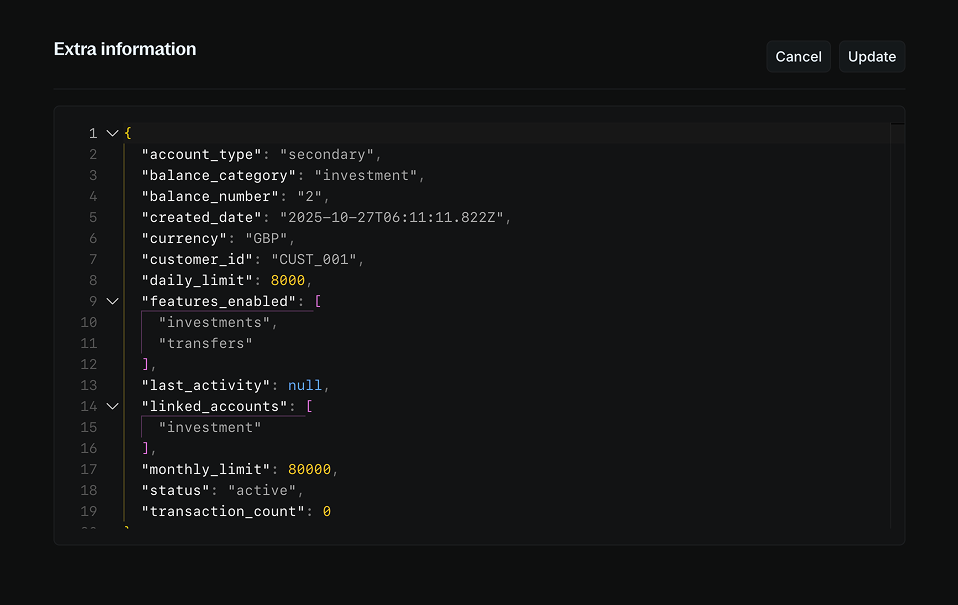
The metadata section allows you to add custom information to your transaction. You can store additional details, tags, or any other data that helps you organize and manage your transactions.Edit metadata
To edit metadata: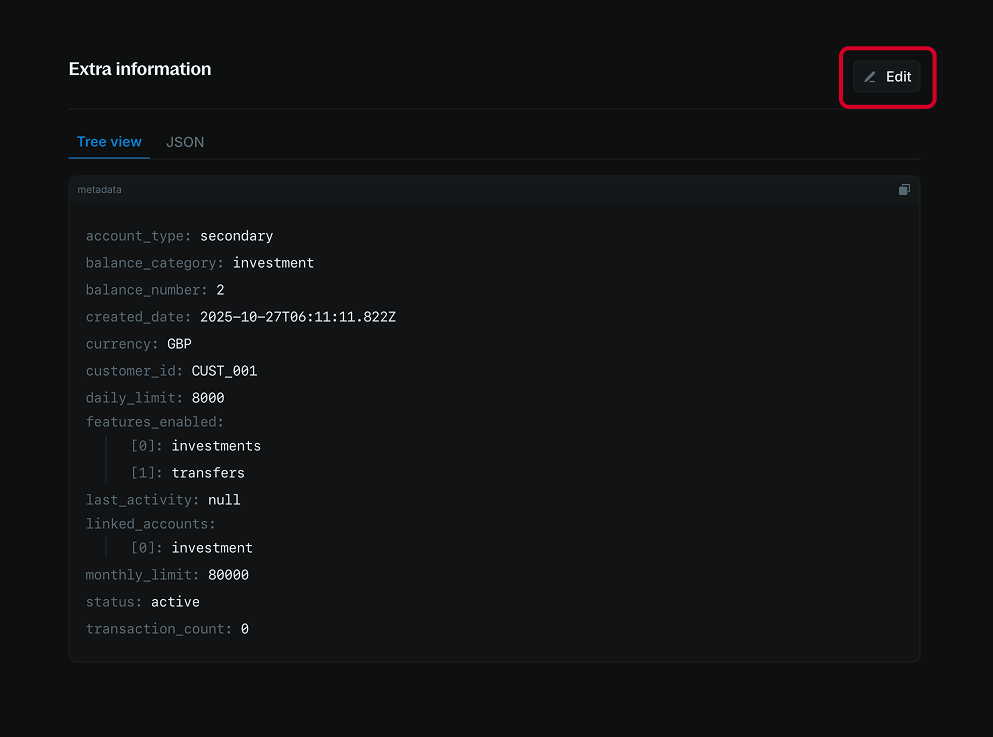
- Navigate to the Additional information section.
- Click the Add or Edit button at the top right of the section.
- Use the code editor to add new metadata or update existing metadata.
- Click Update to apply your changes.
When updating metadata, any fields you don’t include in your update will remain unchanged. Blnk adds your new values to the existing metadata instead of deleting them. To remove a value, set it to an empty string.