Documentation Index
Fetch the complete documentation index at: https://guide.cloud.blnkfinance.com/llms.txt
Use this file to discover all available pages before exploring further.
Overview
Ledgers are used to group similar balances together. It is the starting point for creating and managing balances in your workspace. By default, Blnk creates a General Ledger for you. This is best for grouping balances that belong to your organization, e.g.,@Revenue, @Fees, etc.
Consider grouping balances by:
- Use case, e.g., Wallets Ledger, Savings Ledger, etc.
- Product type, e.g., Credit Cards Ledger, Debit Cards Ledger, etc.
- Location, e.g., USA Customers Ledger, Japan Customers Ledger, etc.
- Currency, e.g., USD Ledger, EUR Ledger, etc.
- or other relevant criteria that make sense for your business.
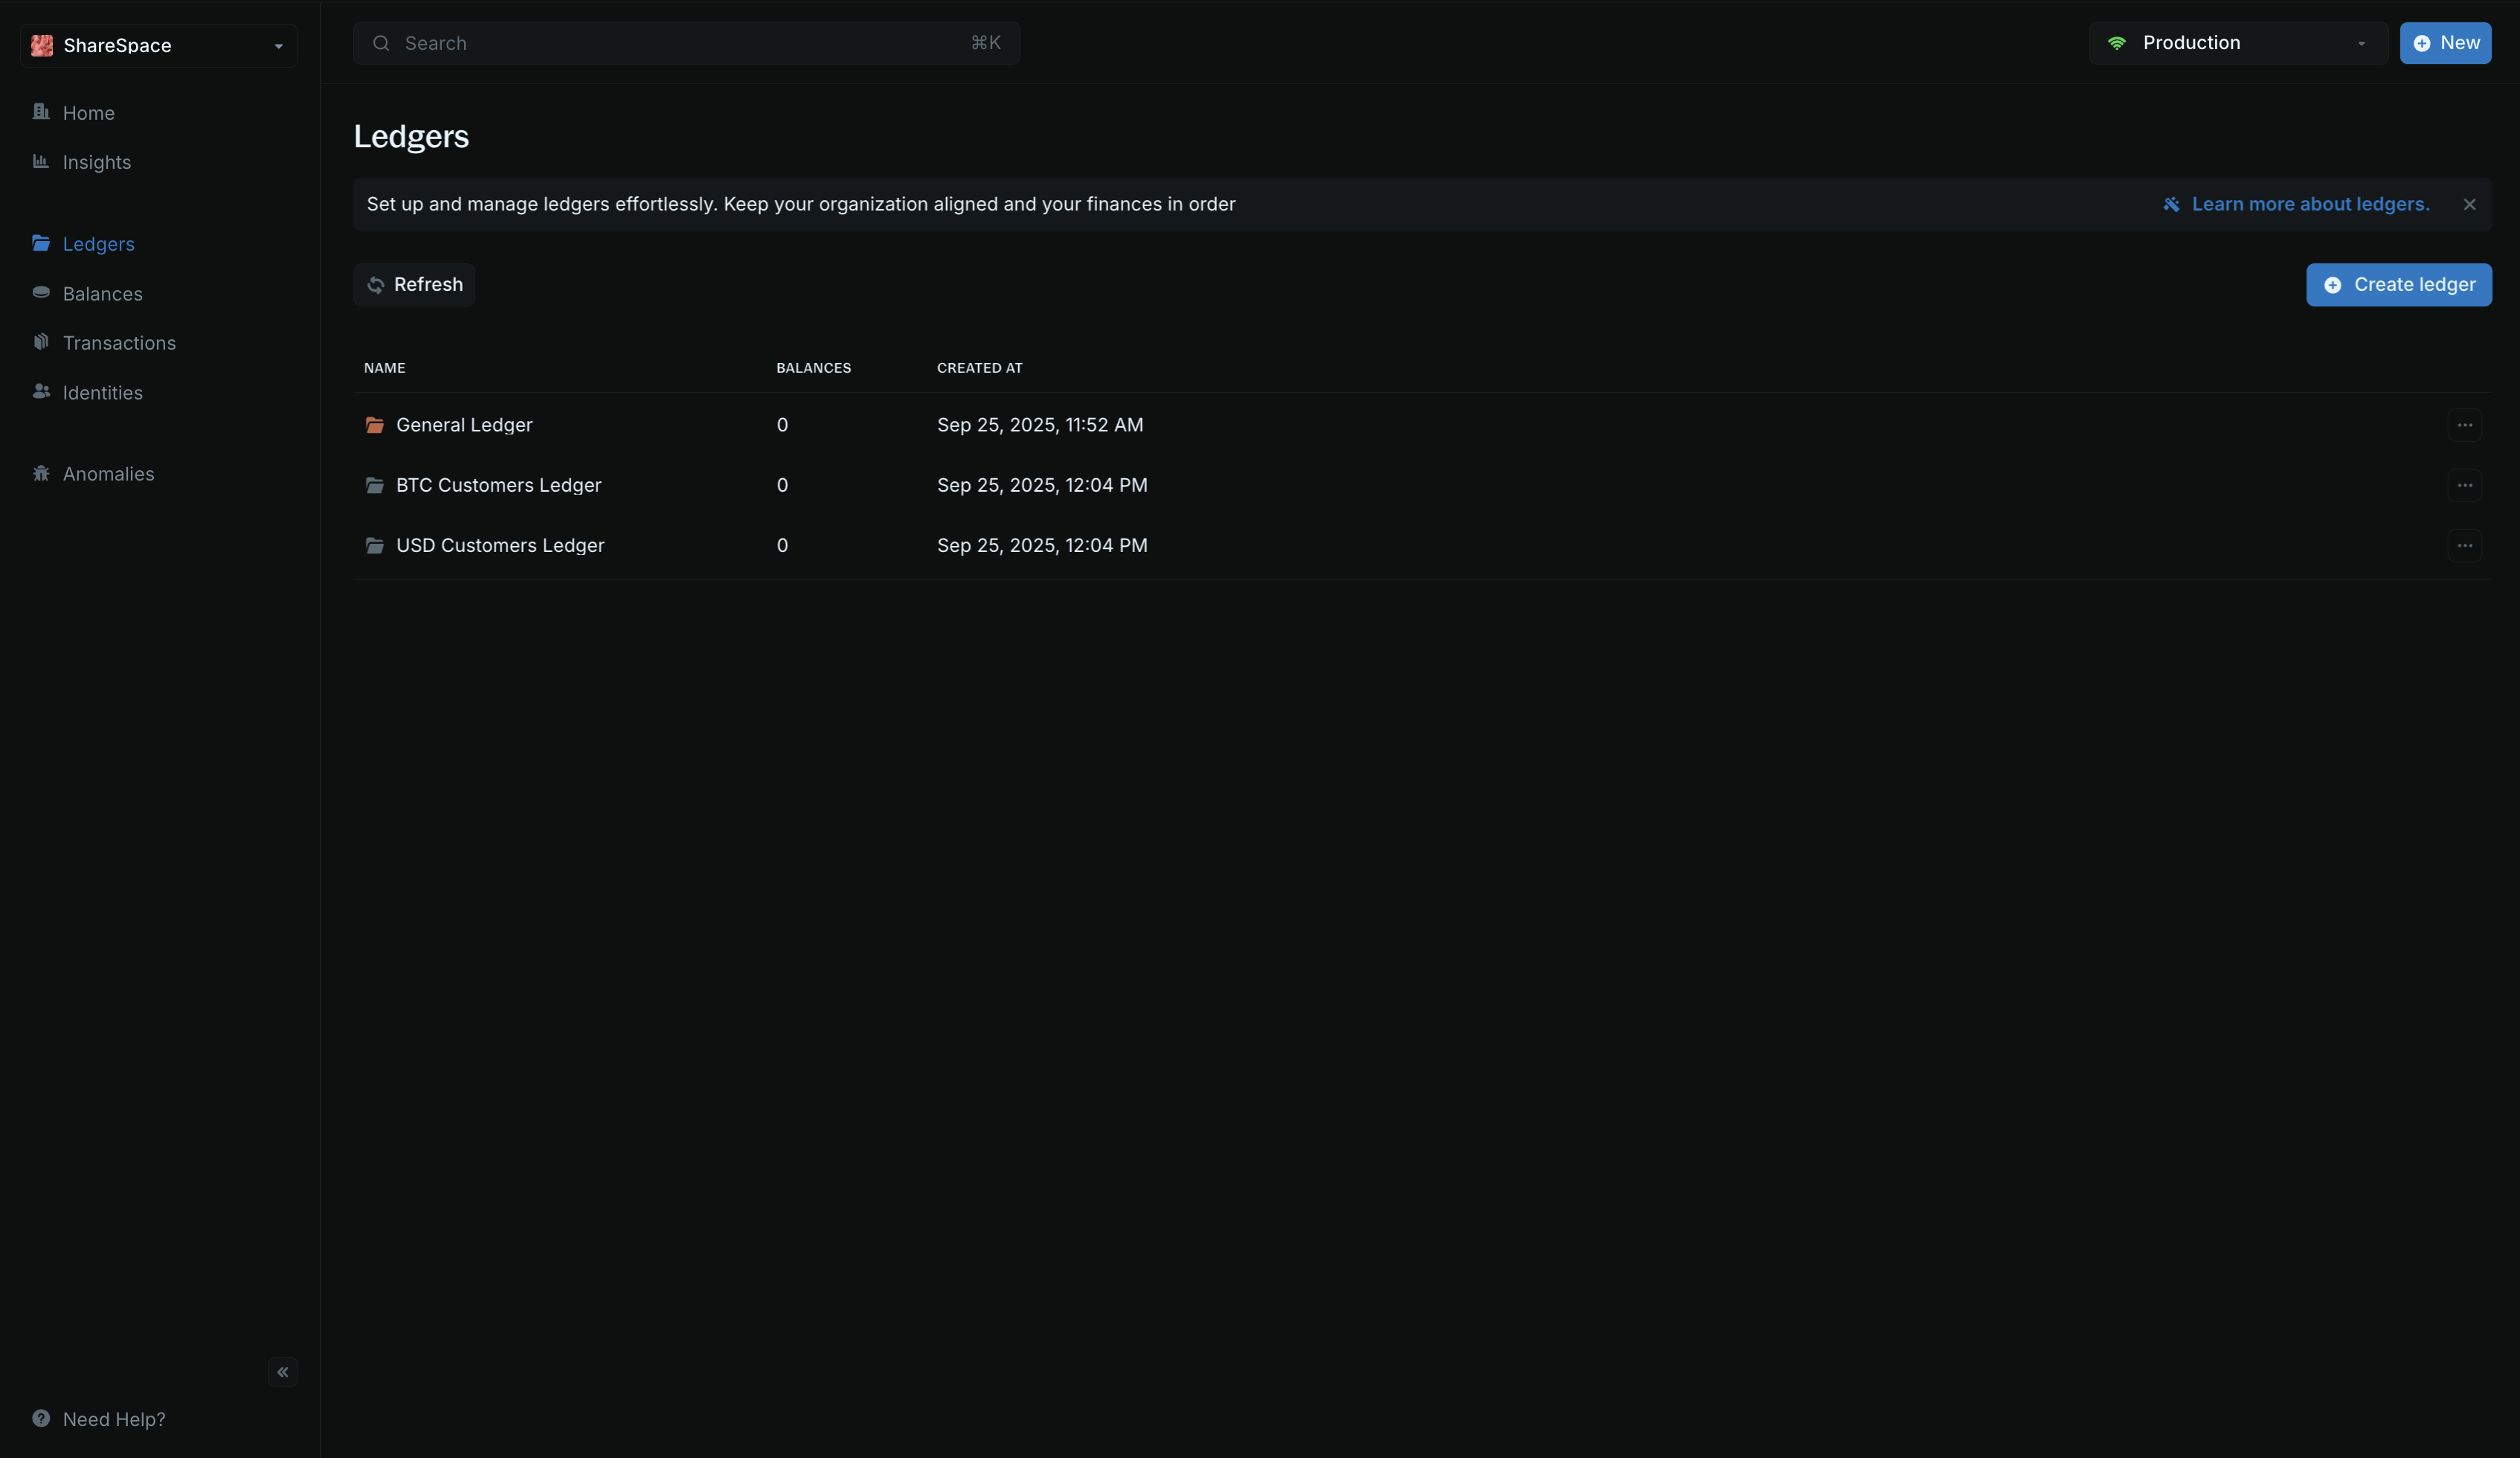
Create ledgers
To create a new ledger: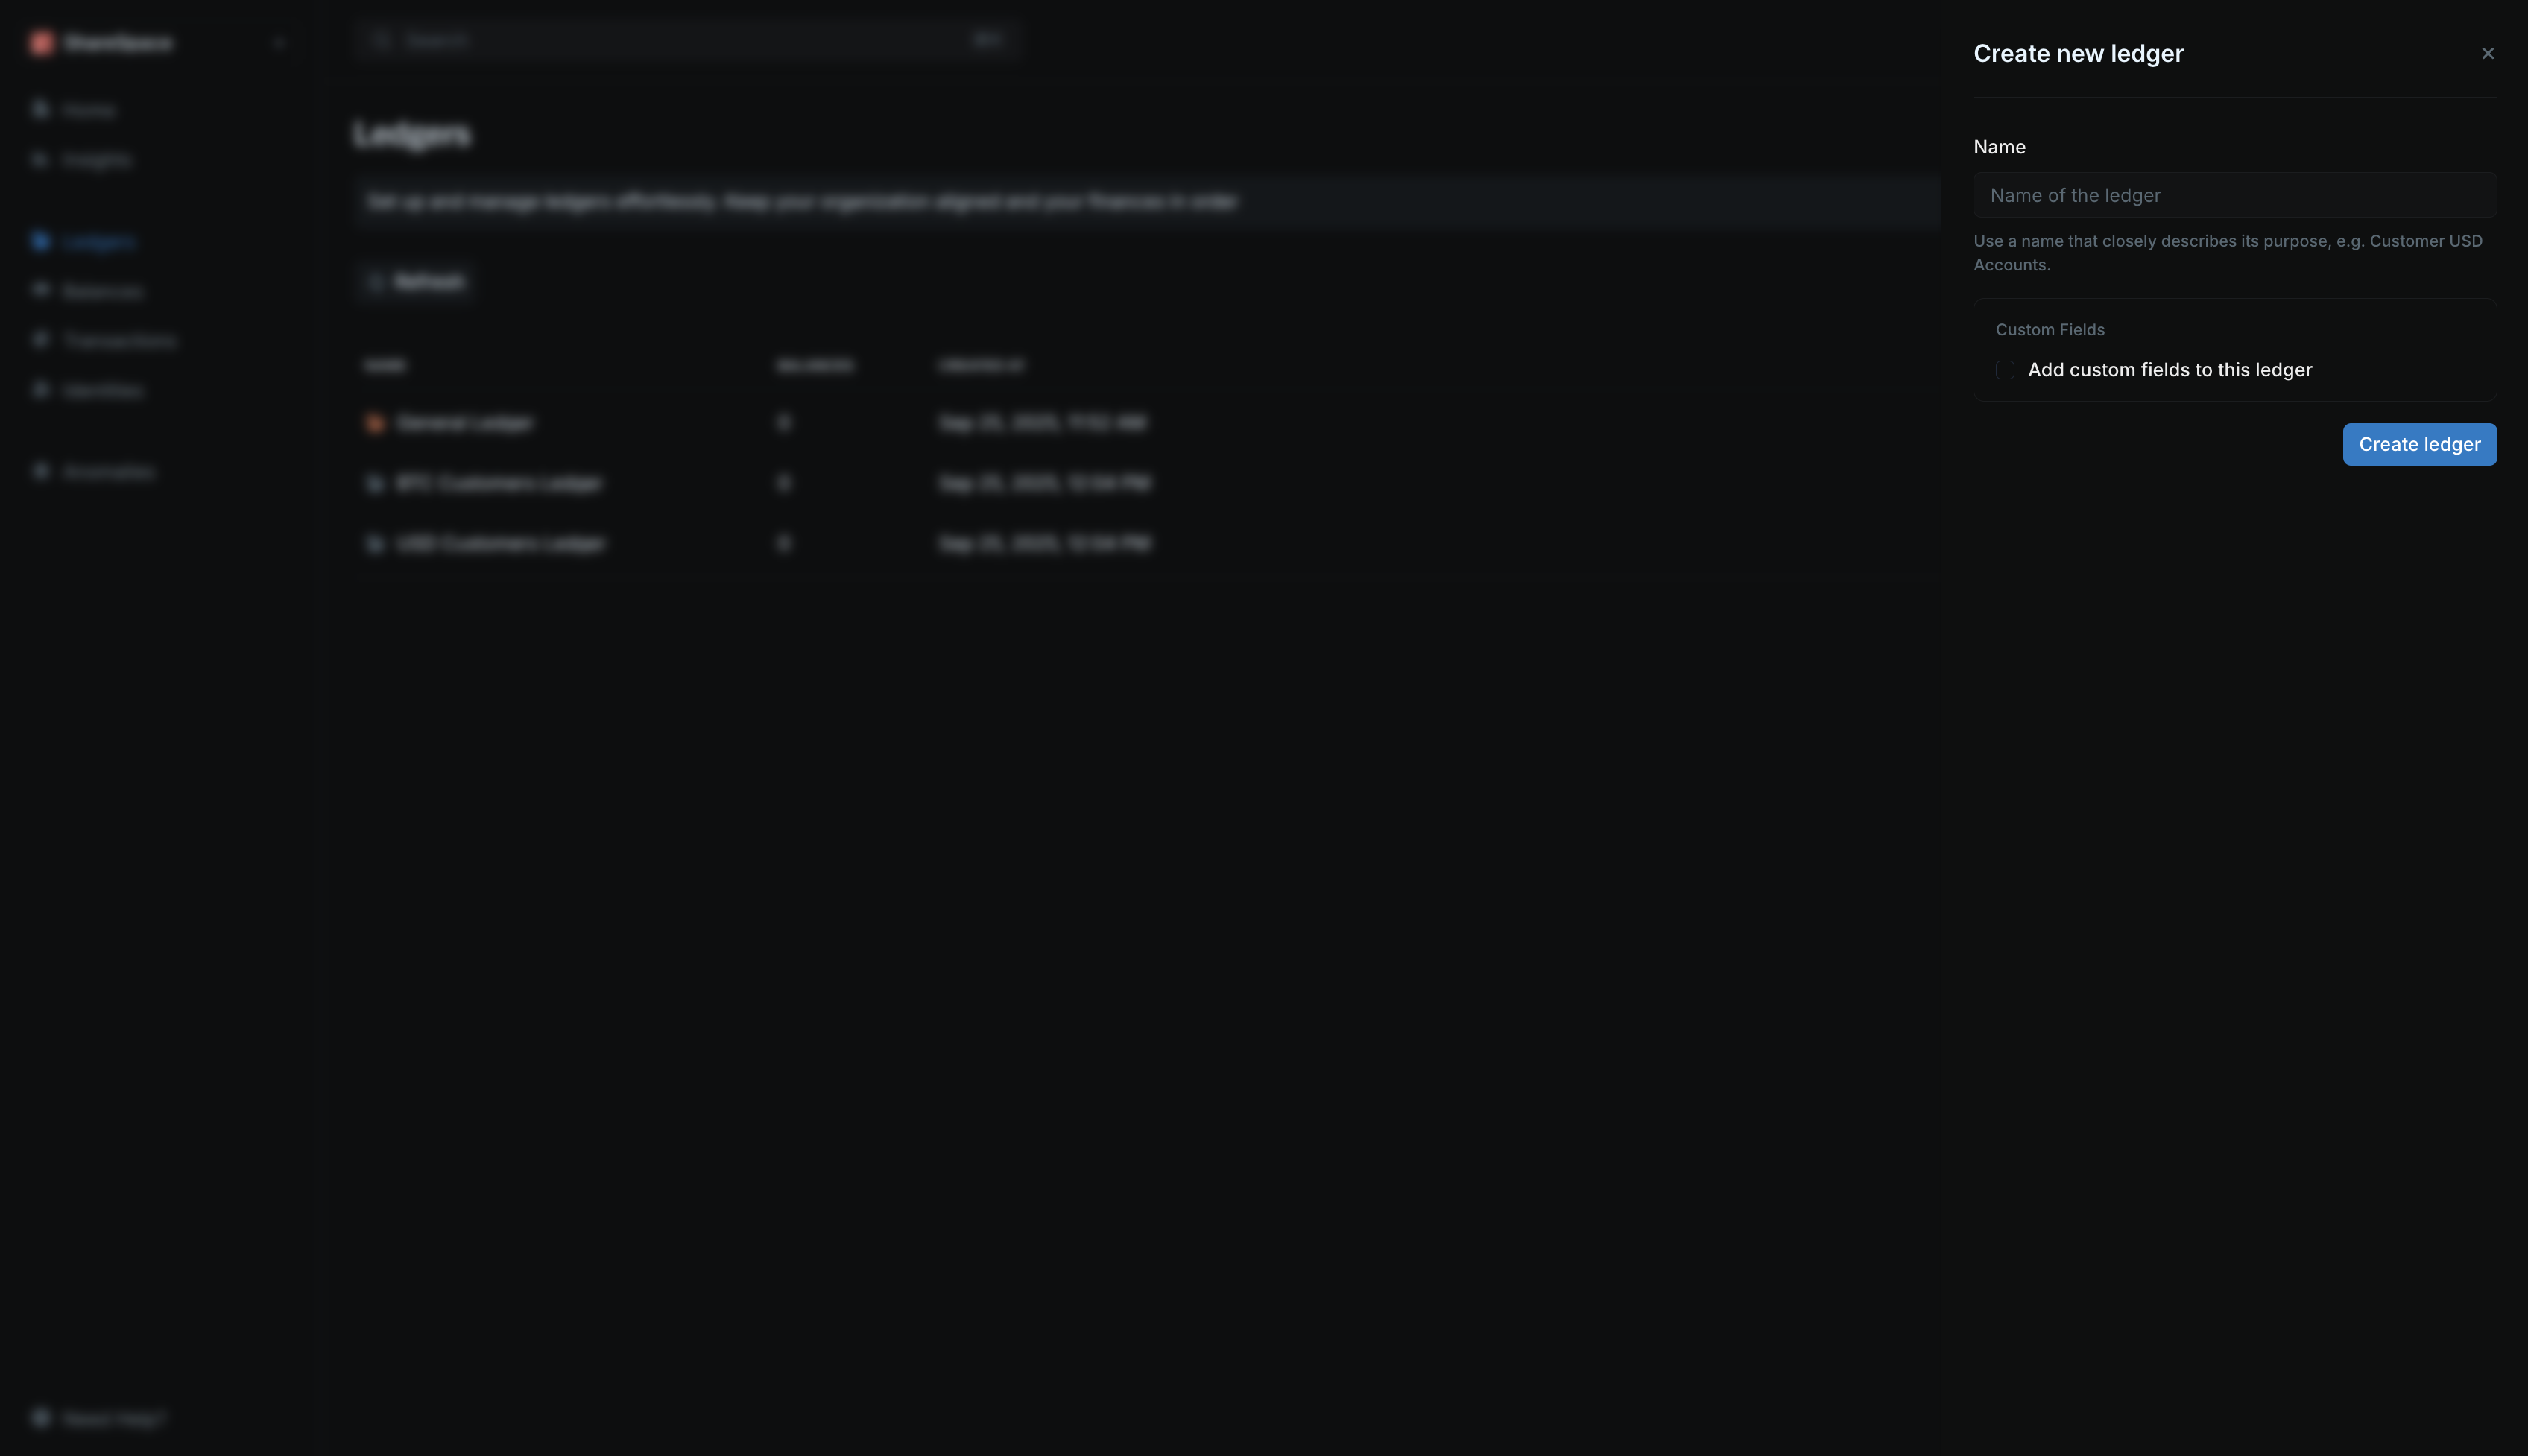
- Click Create ledger in the top-right corner of the Ledgers table.
- Provide a name for your ledger. Optionally add custom fields to enrich it with additional information.
- Click Create ledger.
Working with ledgers
View ledger details
Click a ledger to see its summary details, including the number of balances and transactions.Ledger details
Learn more about navigating the ledger details page.